
Roman Mosaics
THE TIMELESSNESS OF TESSERAE
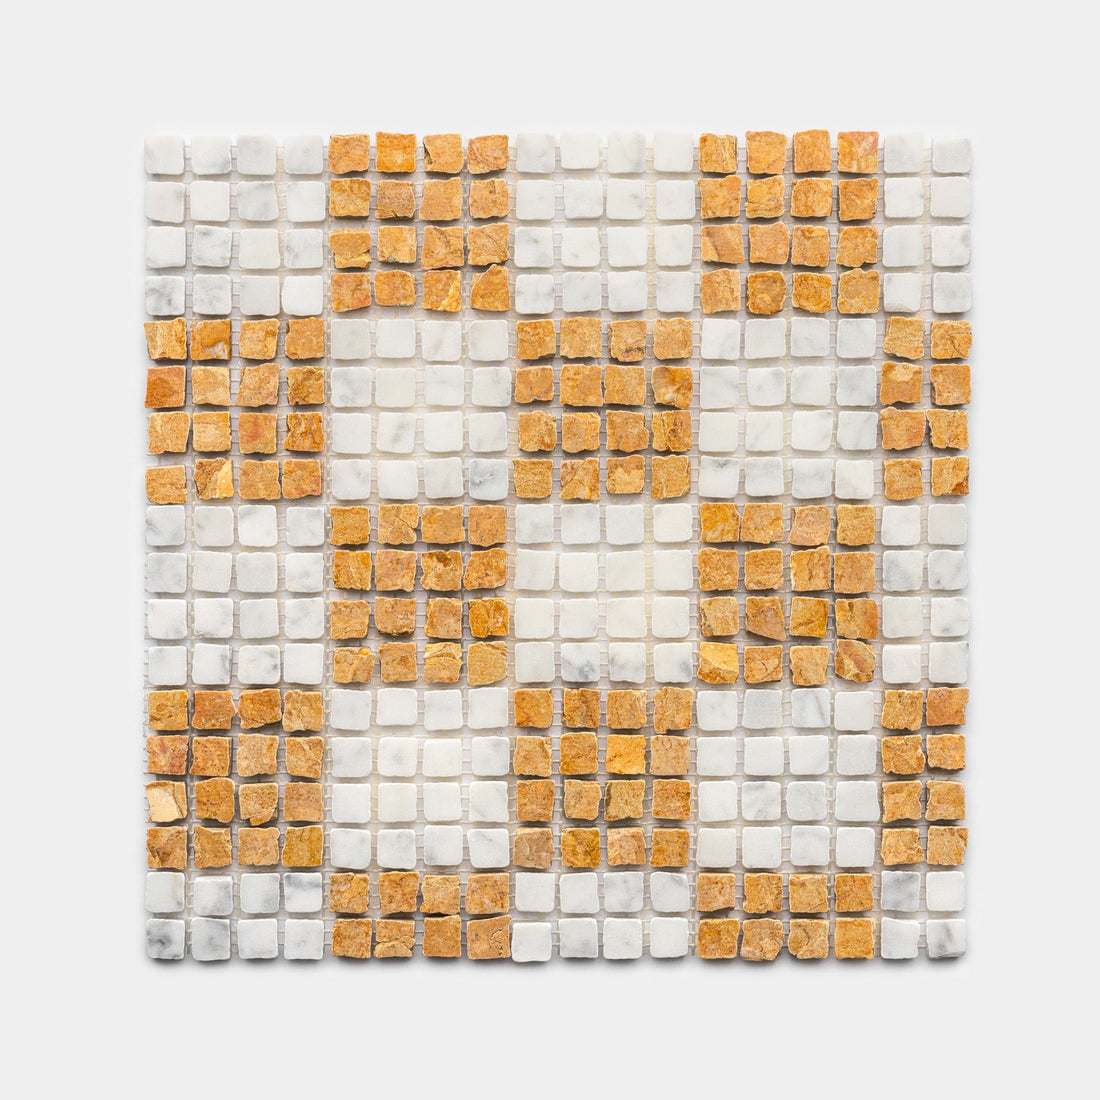
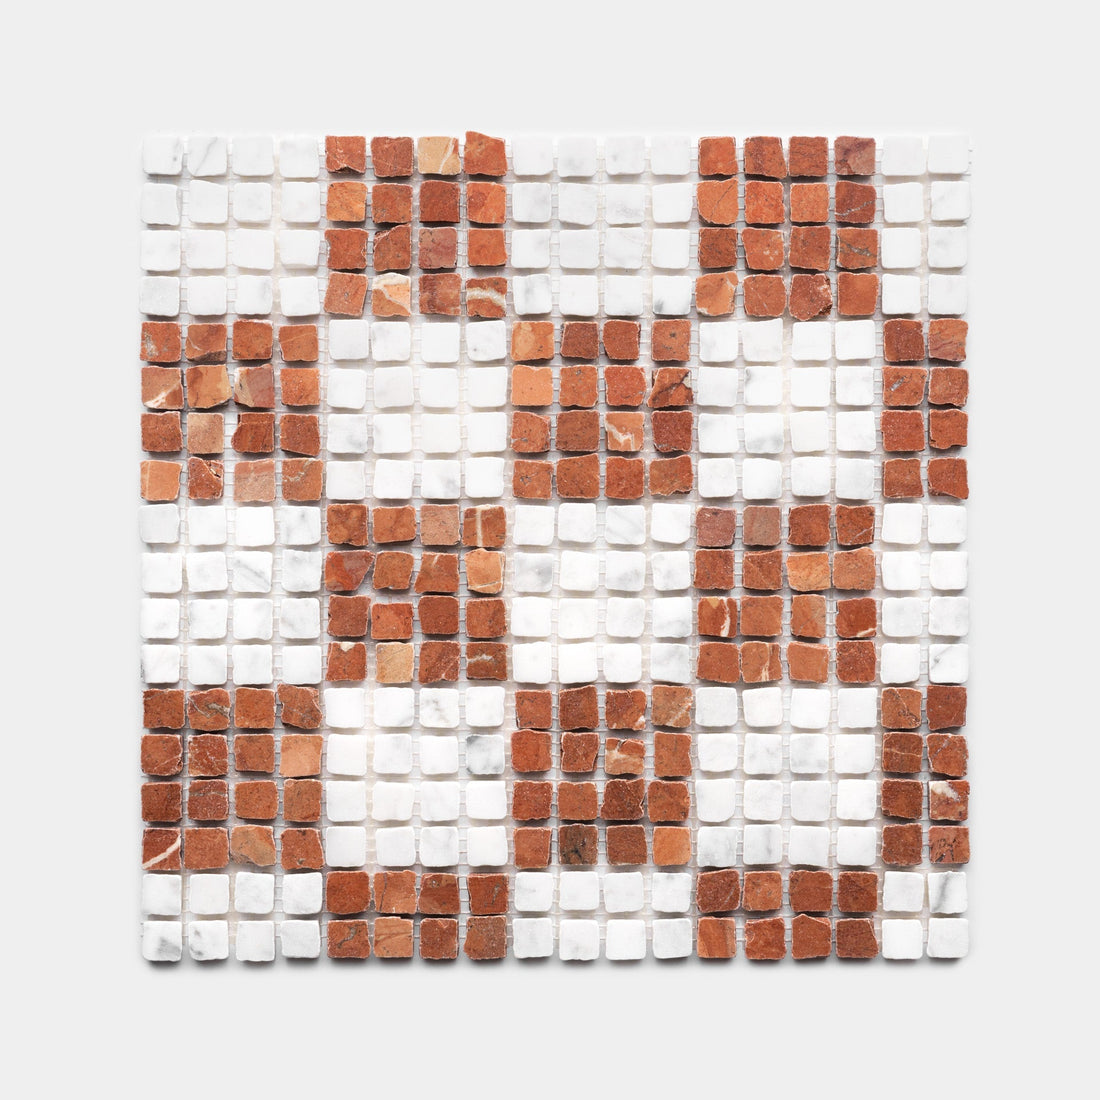
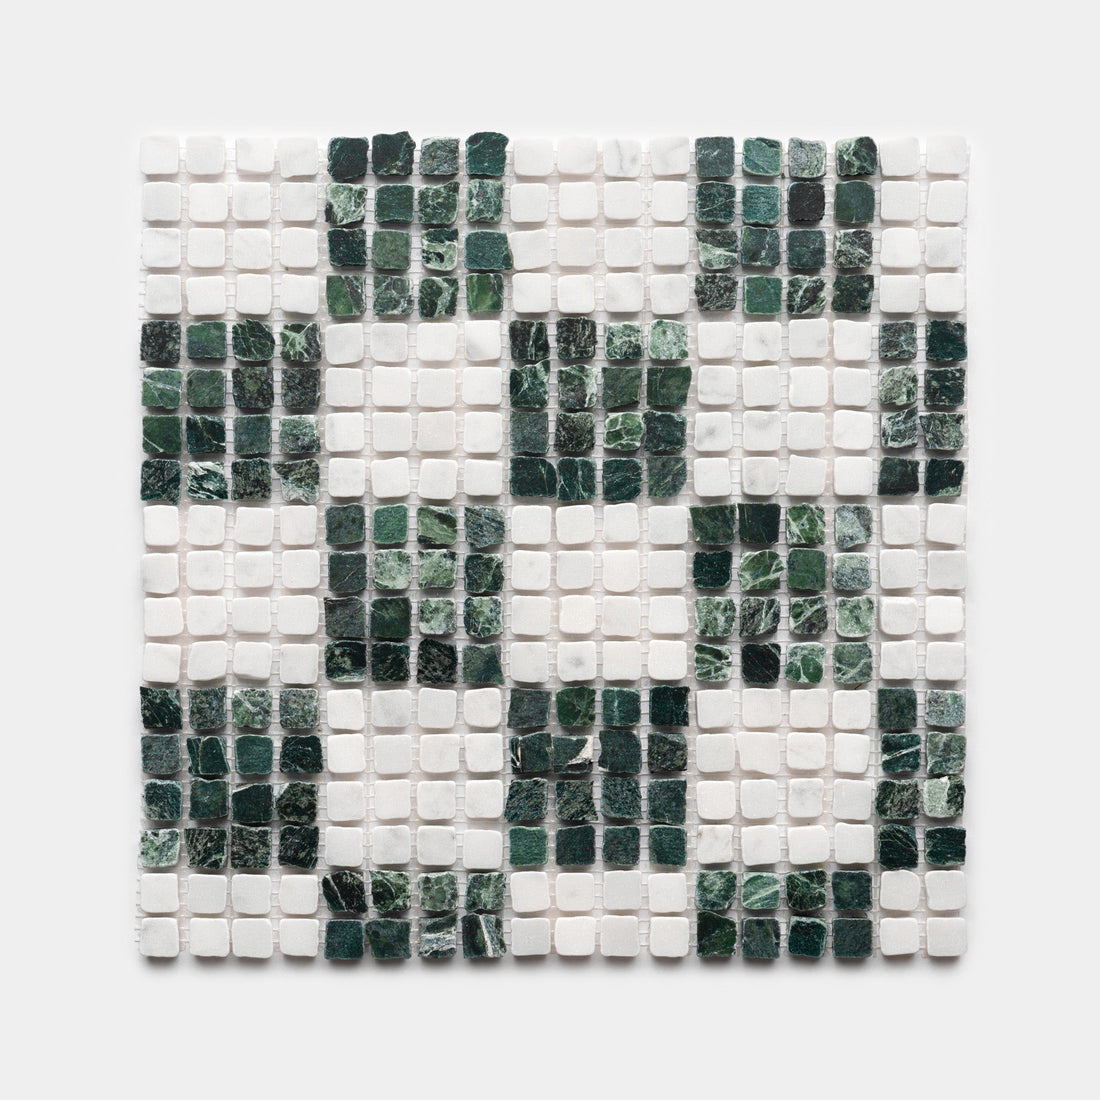
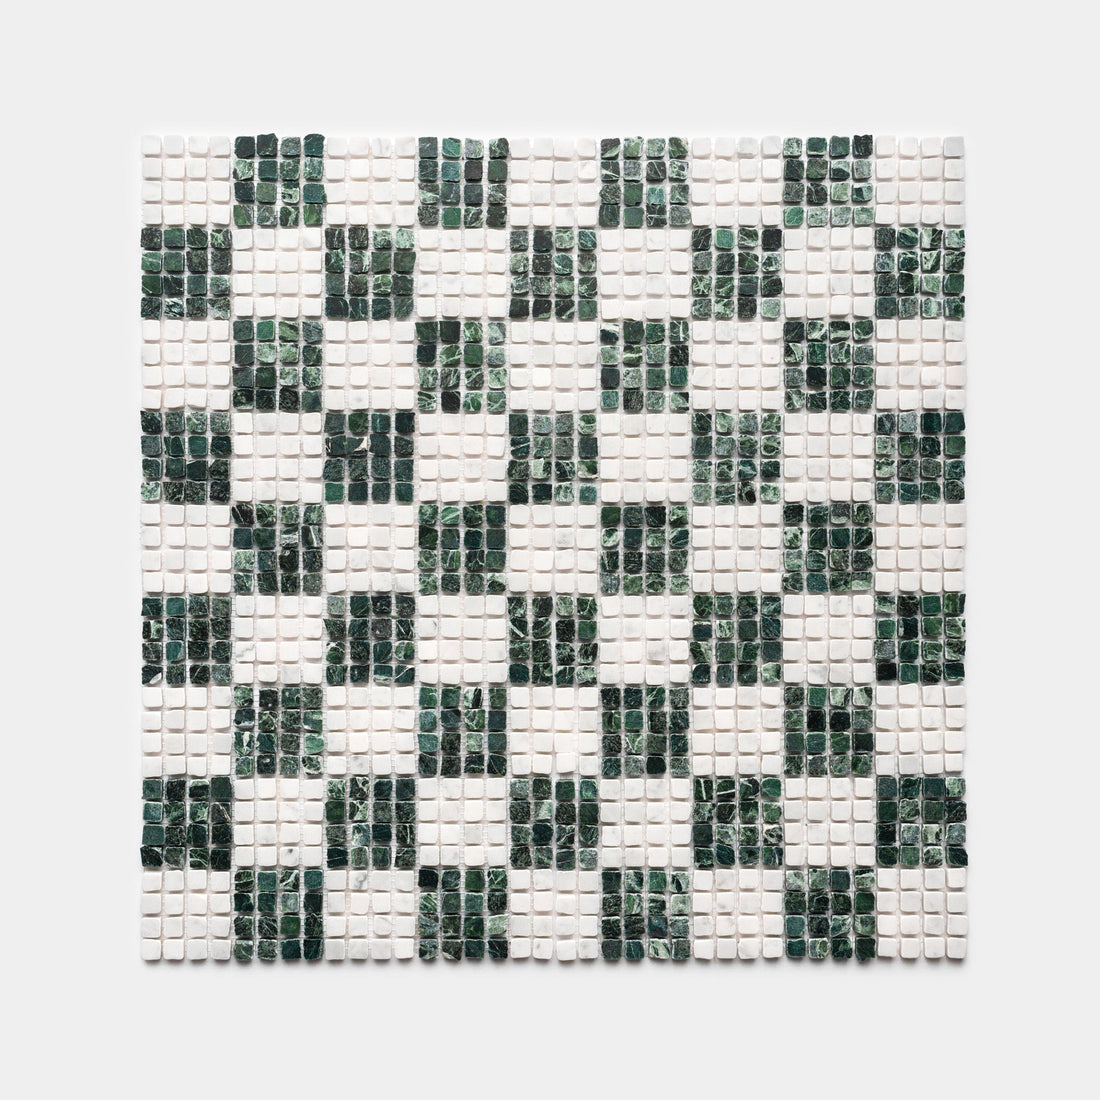
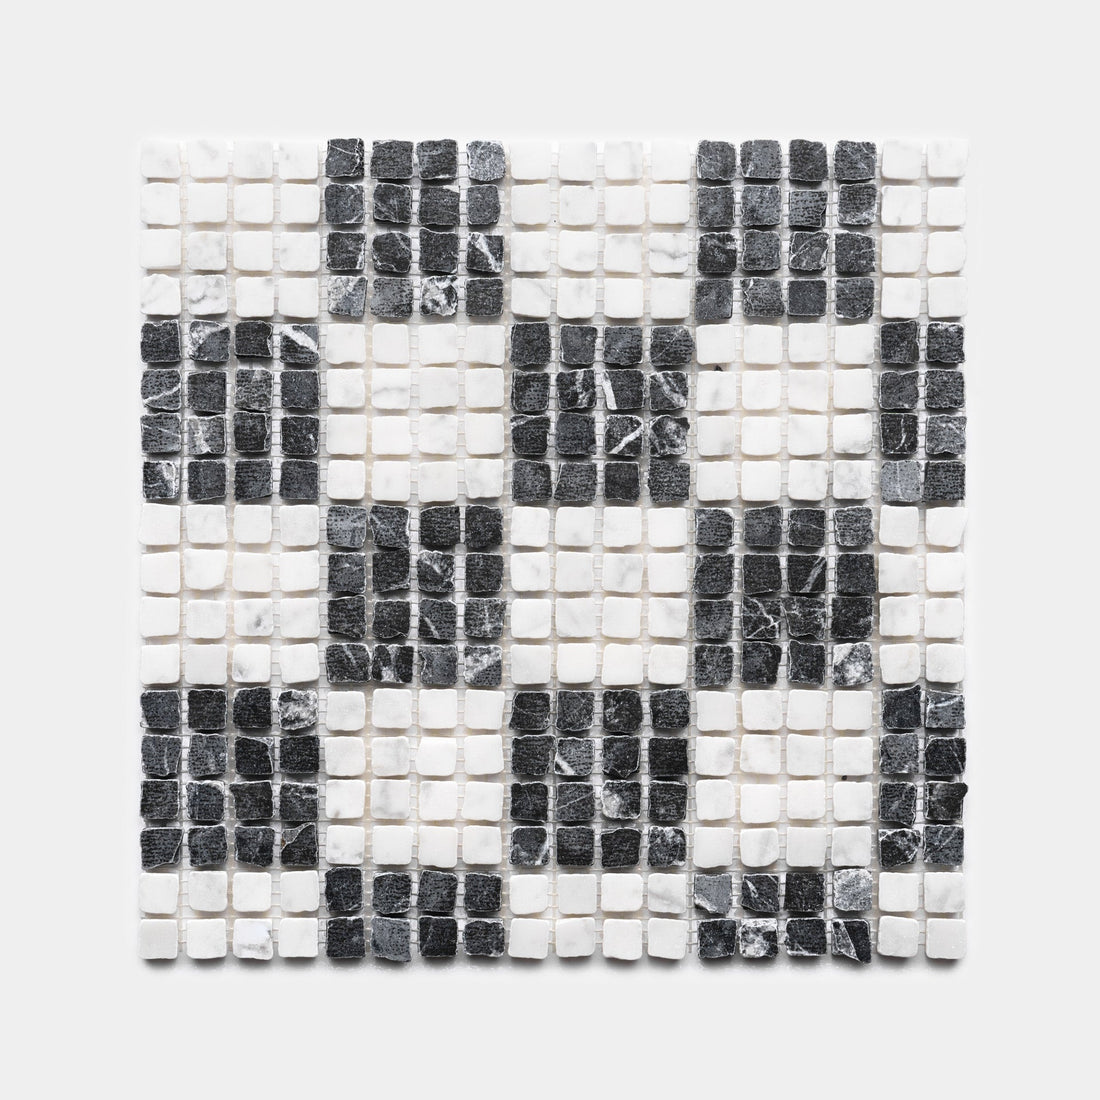
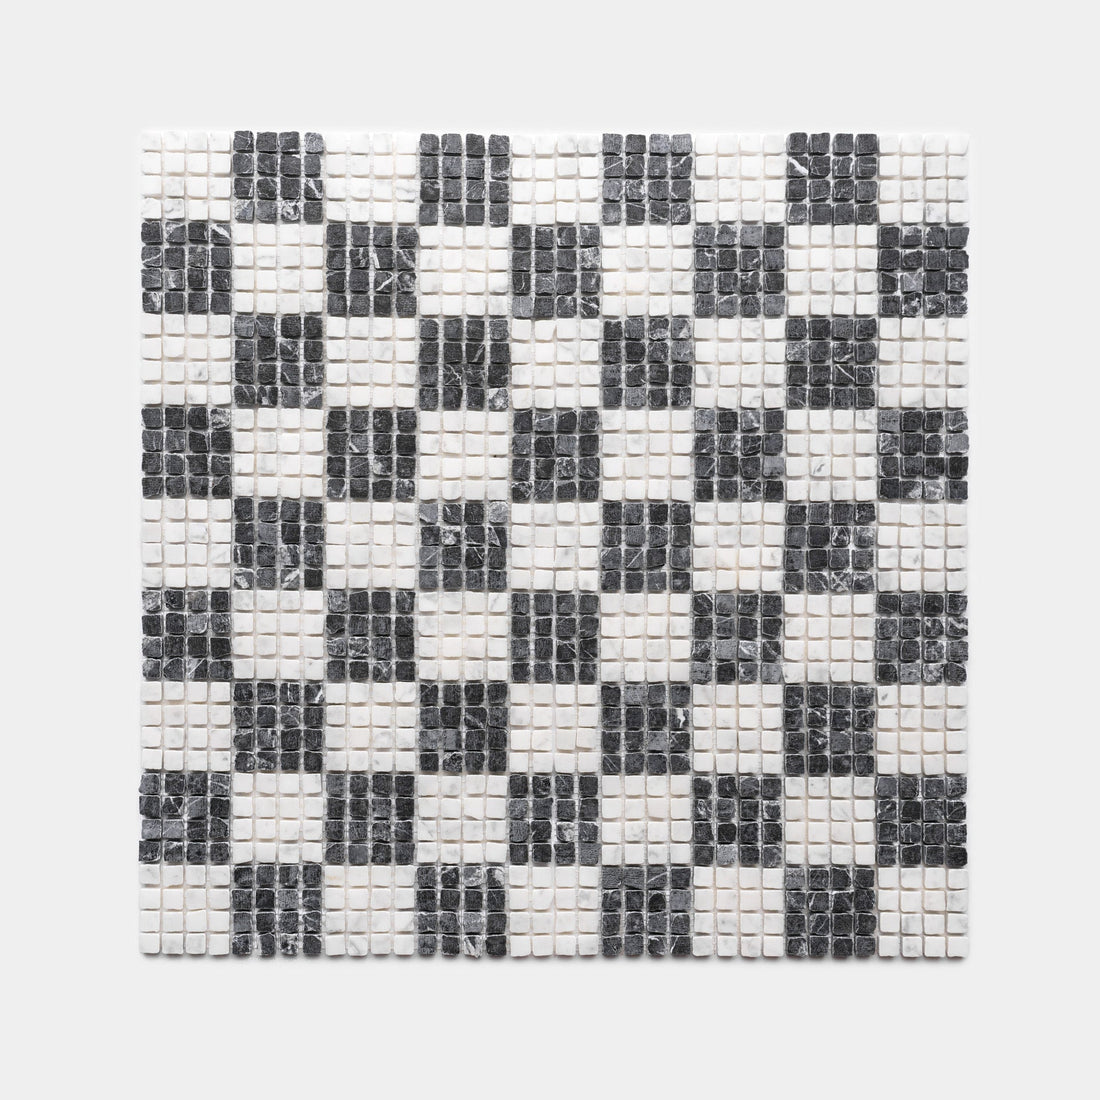
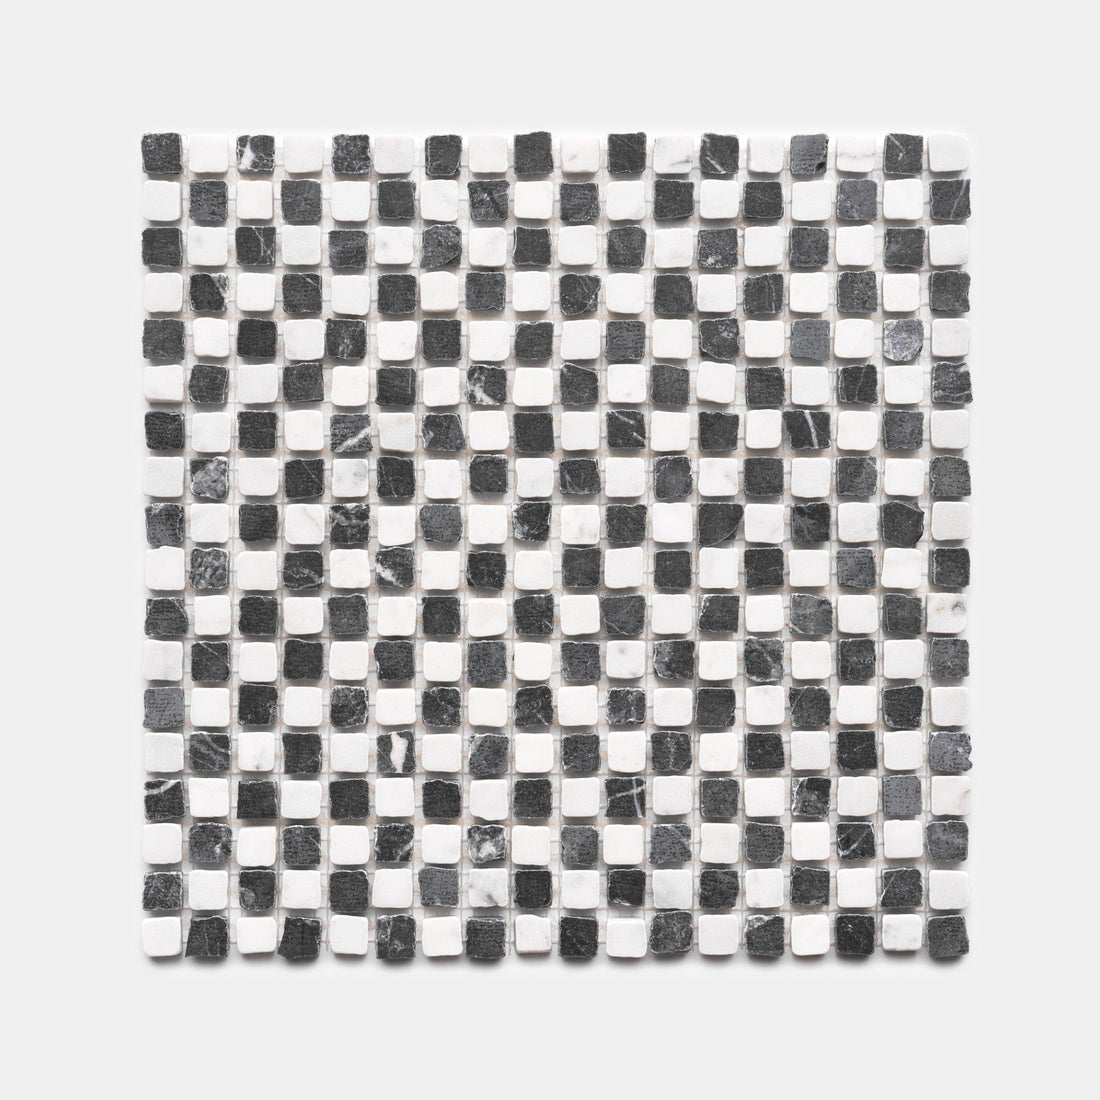
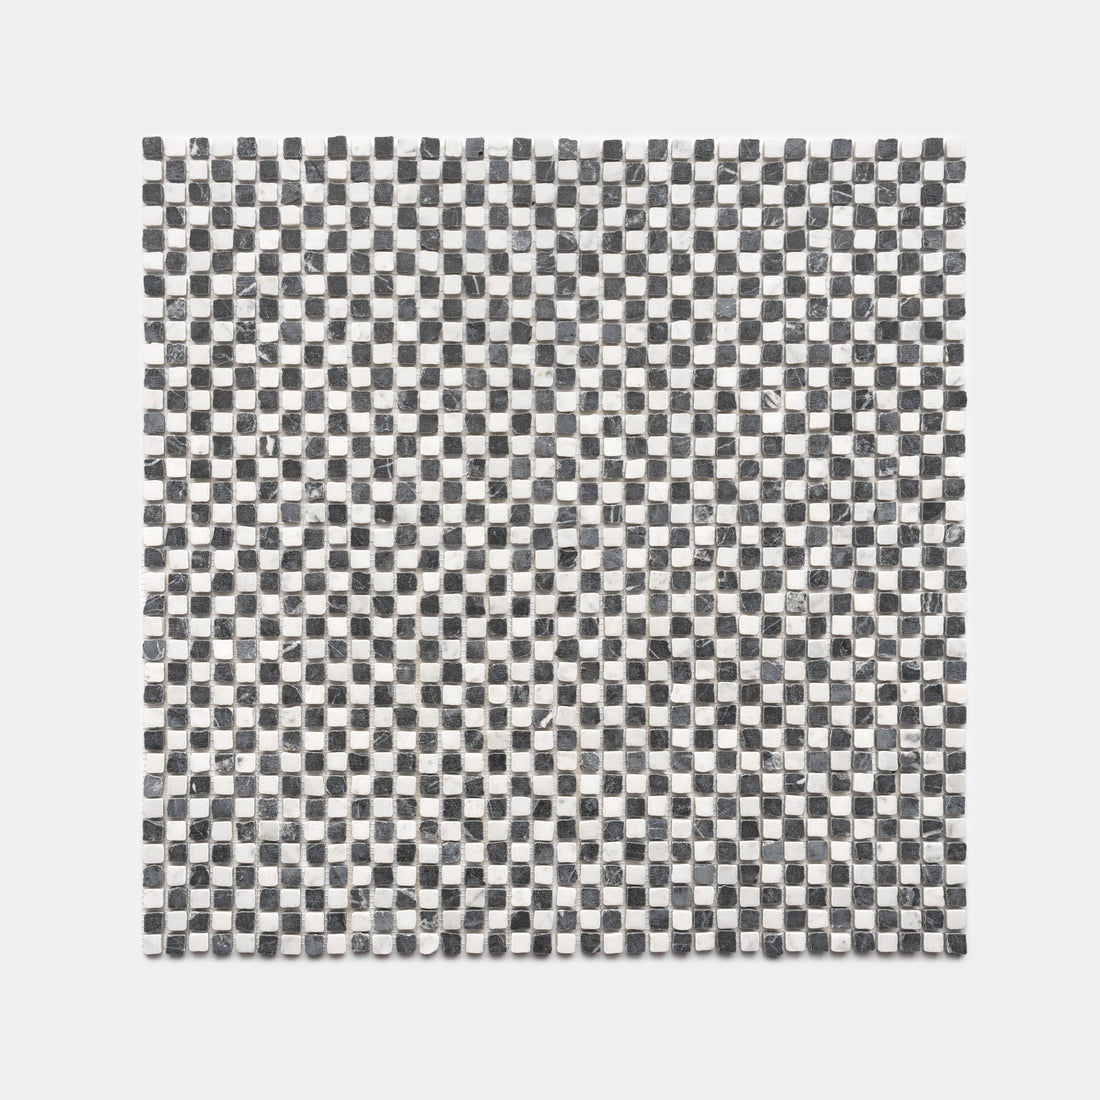
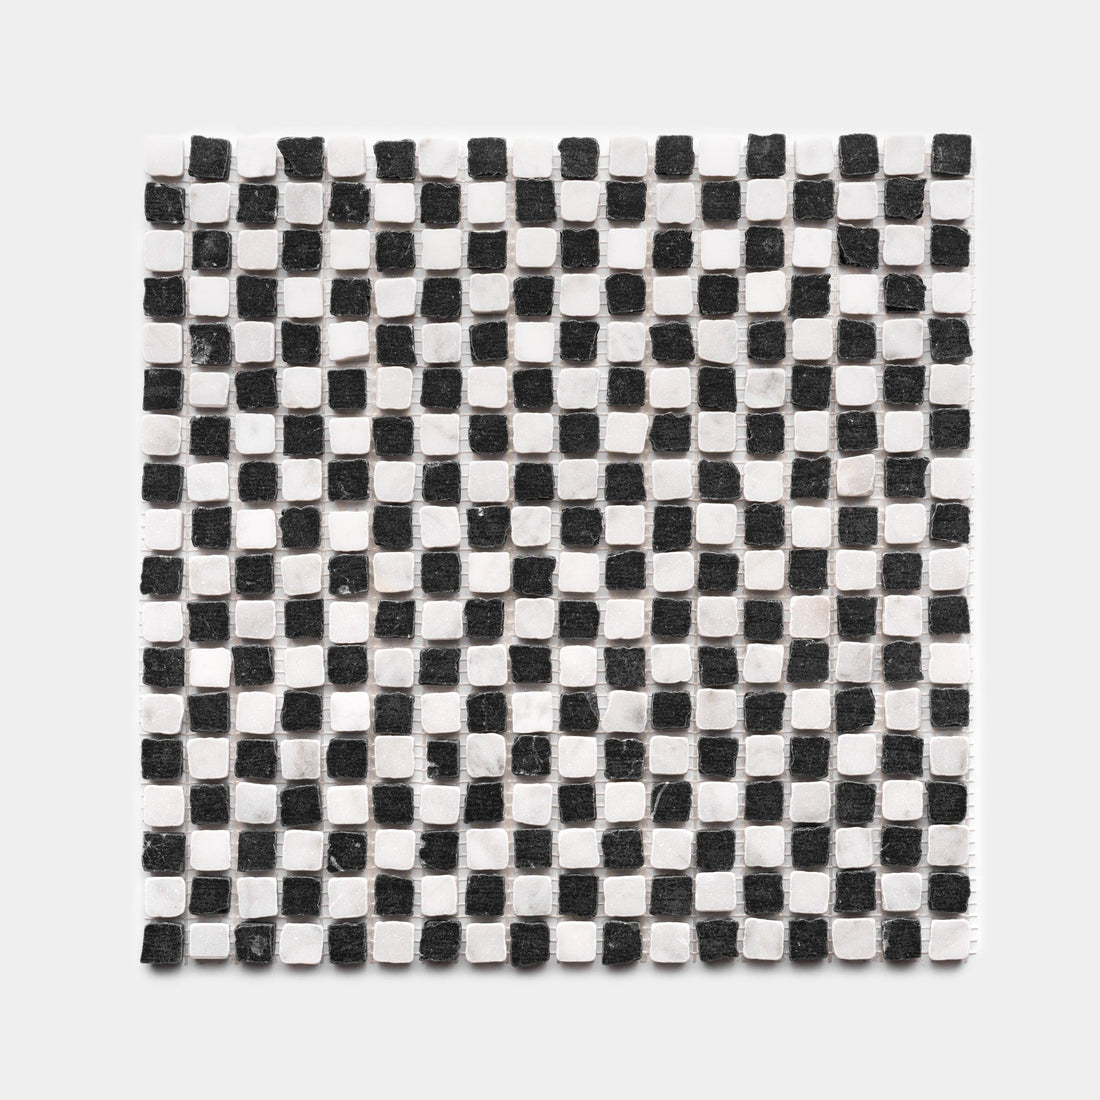
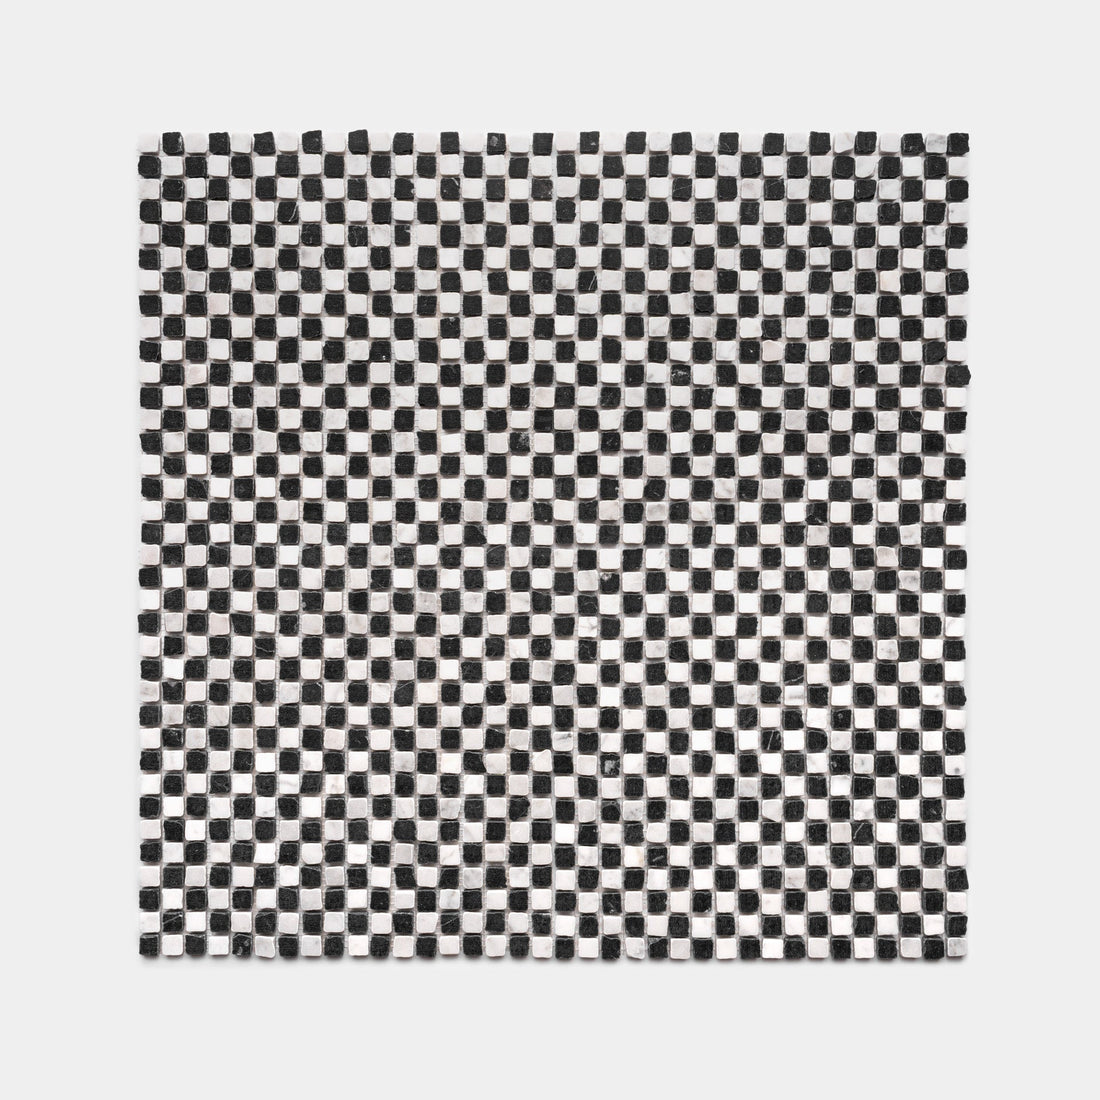
From Hellenistic Greece to the Roman Empire, marble mosaics have defined the art of detail for thousands of years. For Zia’s Roman mosaics, we go straight to the source, with quarries in Italy and Spain. The finishing touches happen in Italy, where the marble is chiseled into 5/8-inch squares, each piece carrying the marks of traditional craftsmanship. Set on mesh in solids, fans, and checks, these small-format mosaics are refined, graphic, and totally timeless.
-
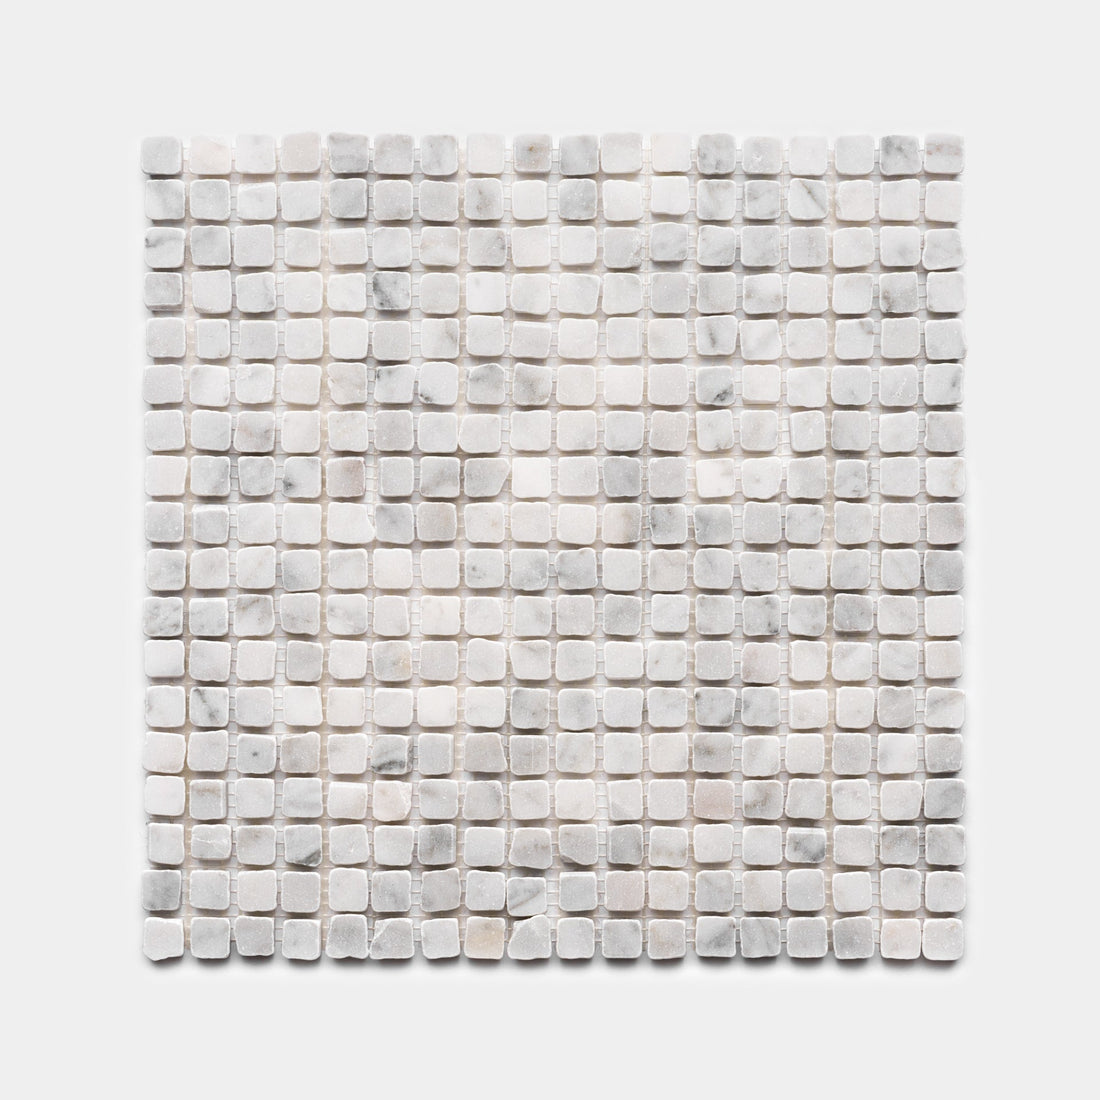
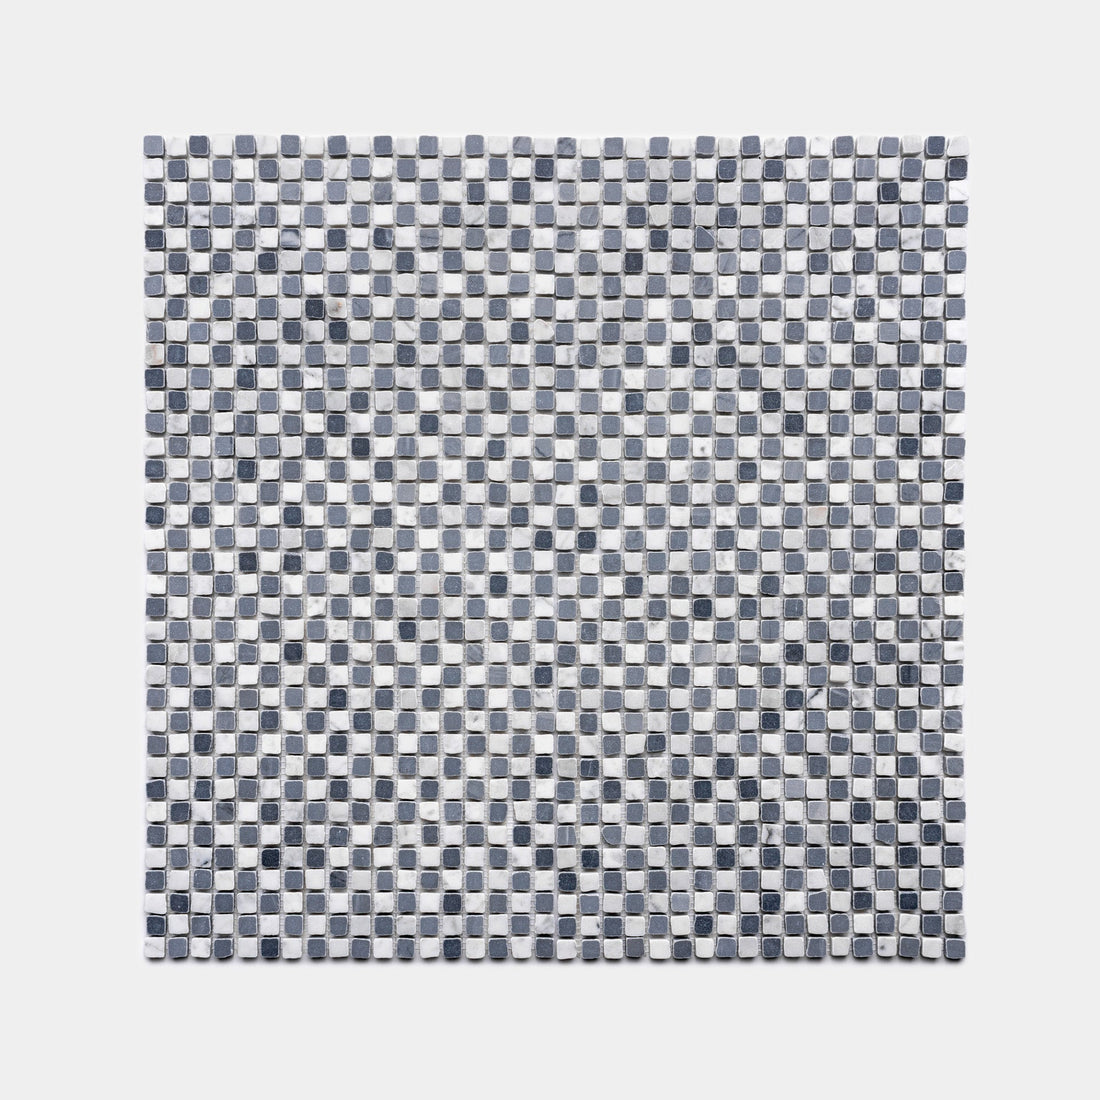
Carrara 5/8
In Stock
Roman Mosaic$57.85 / ft²
-
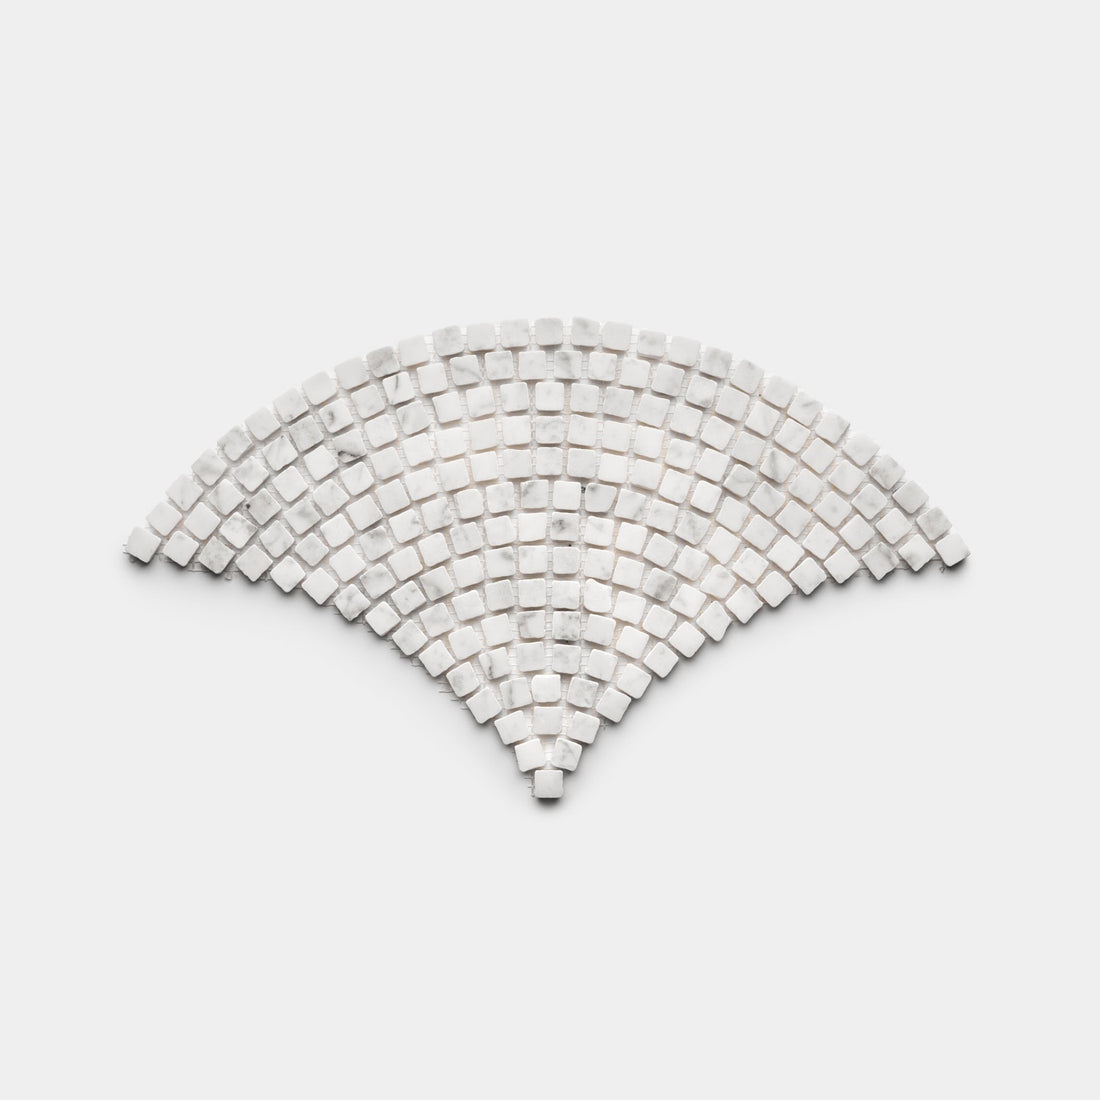
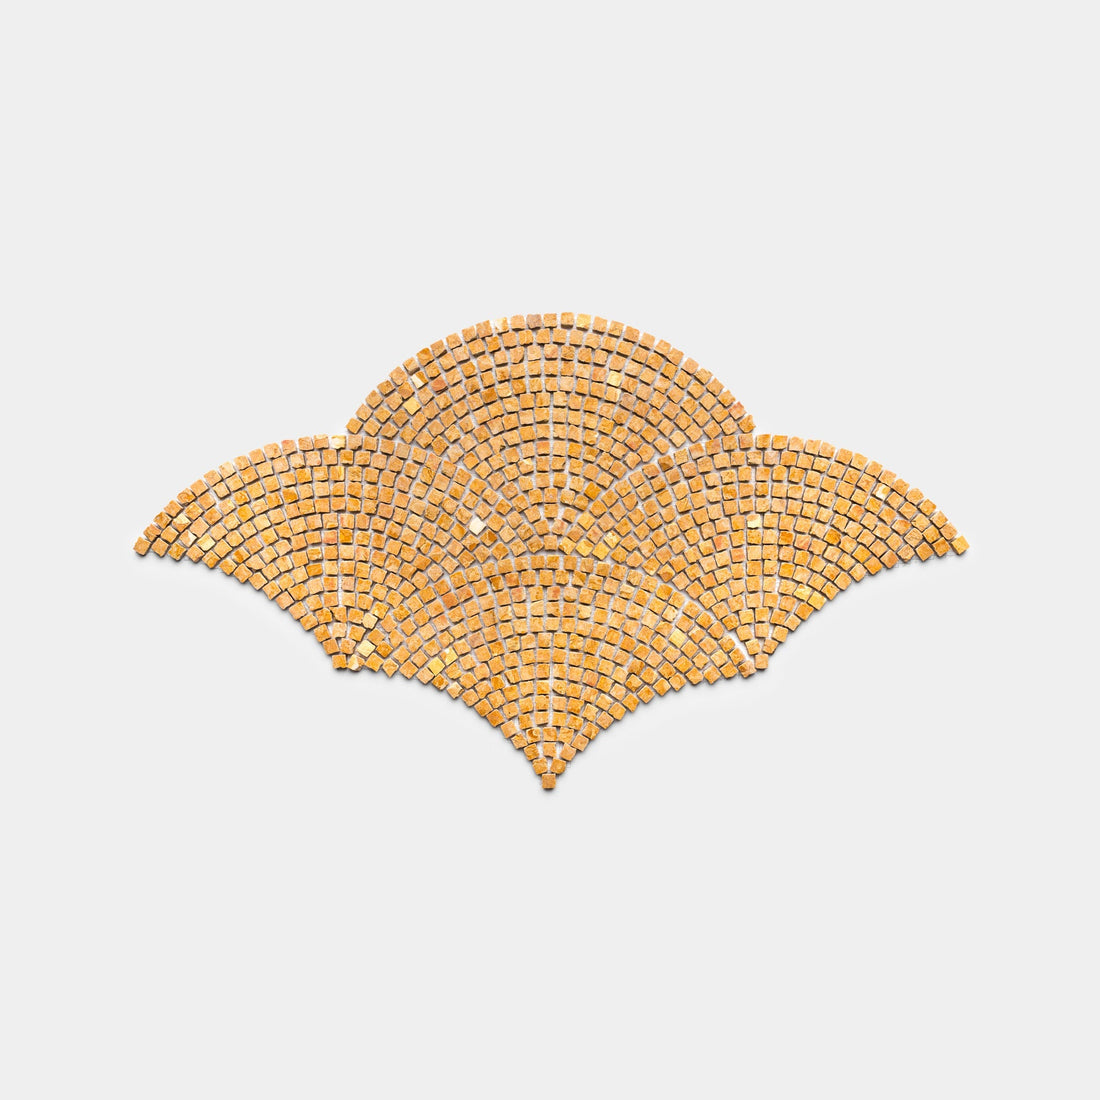
Ventaglio in Carrara
In Stock
Roman Mosaic$57.85 / ft²
-
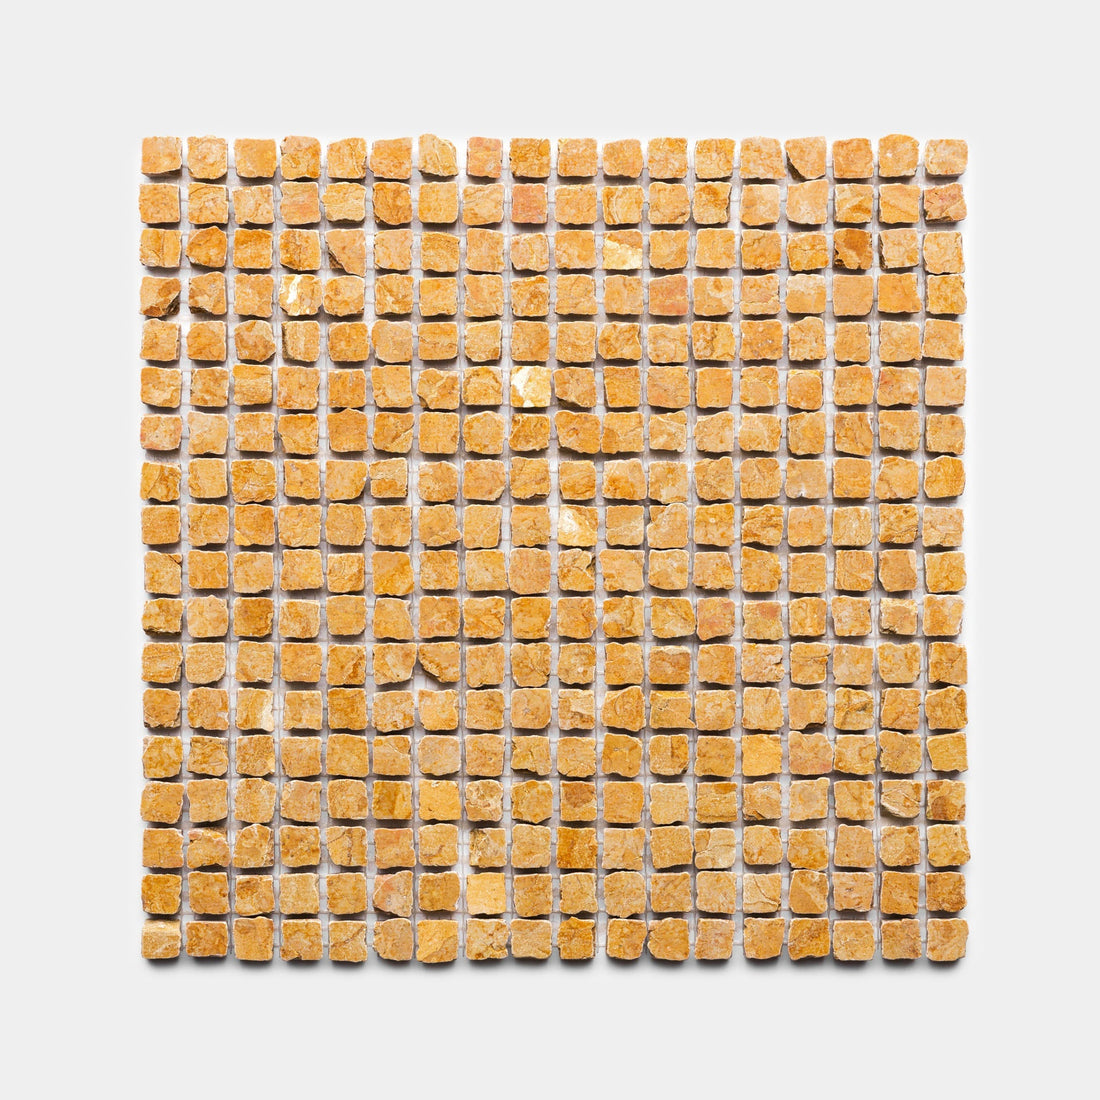
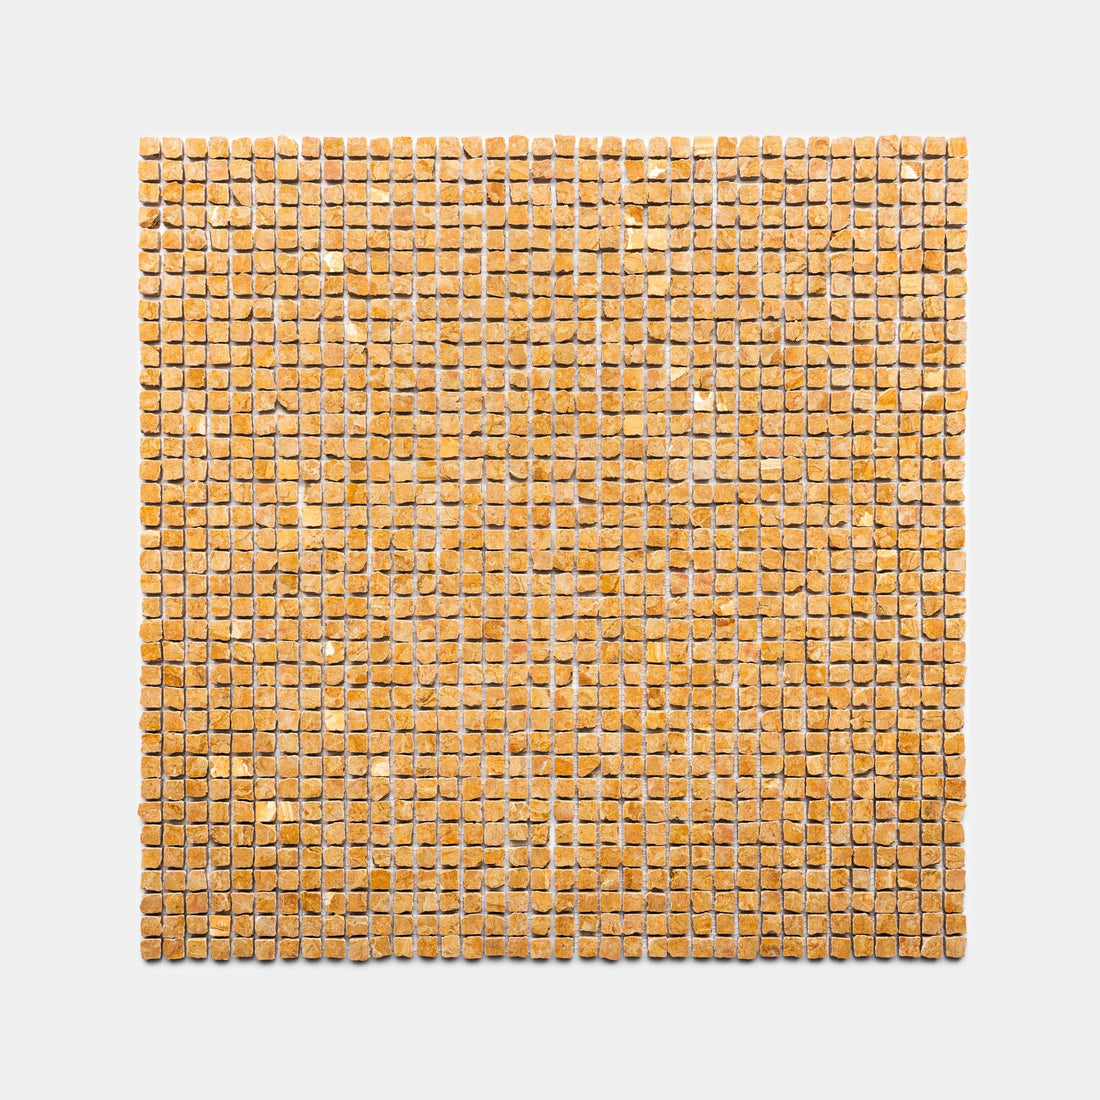
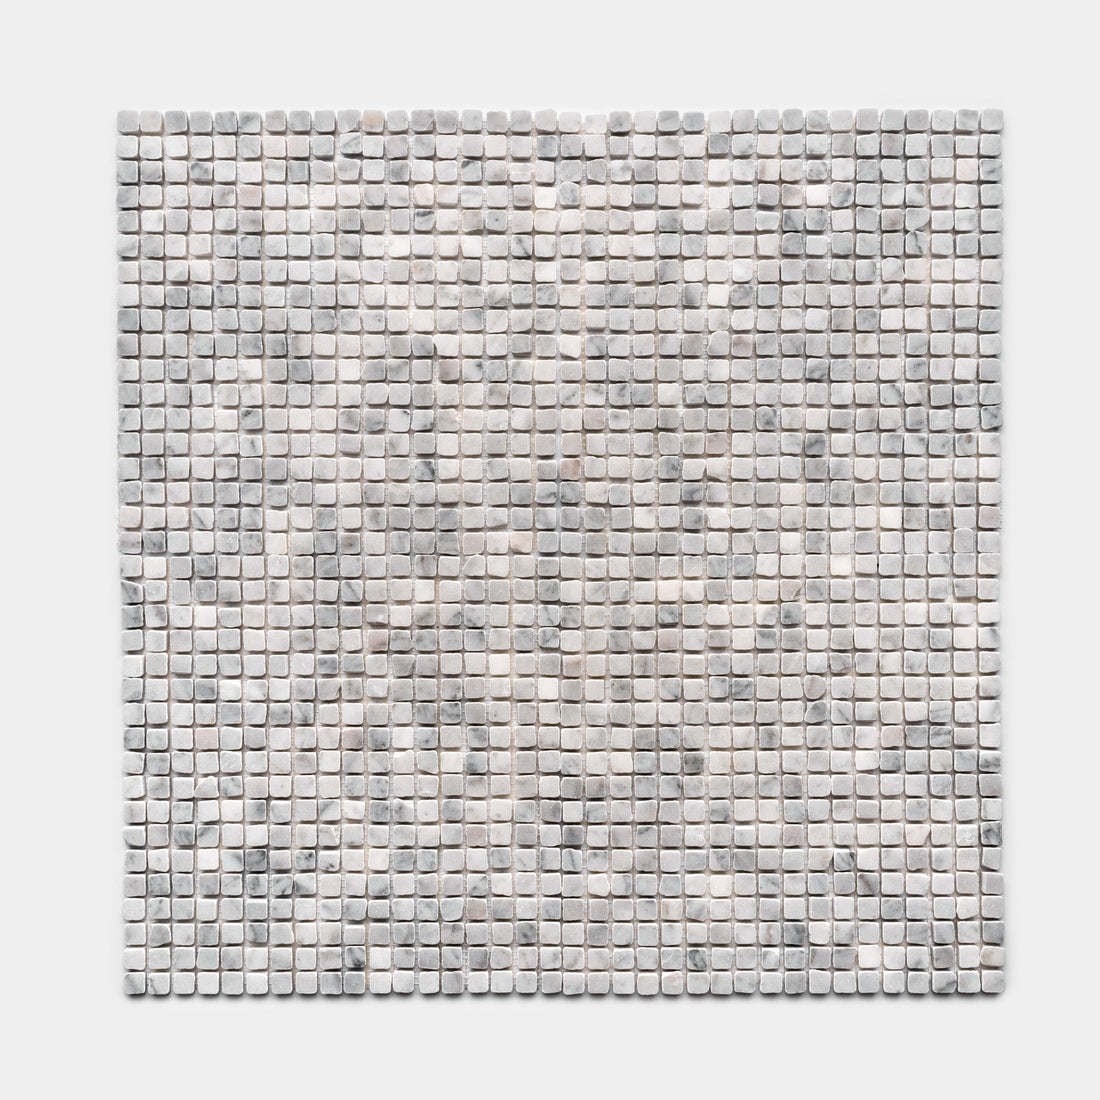
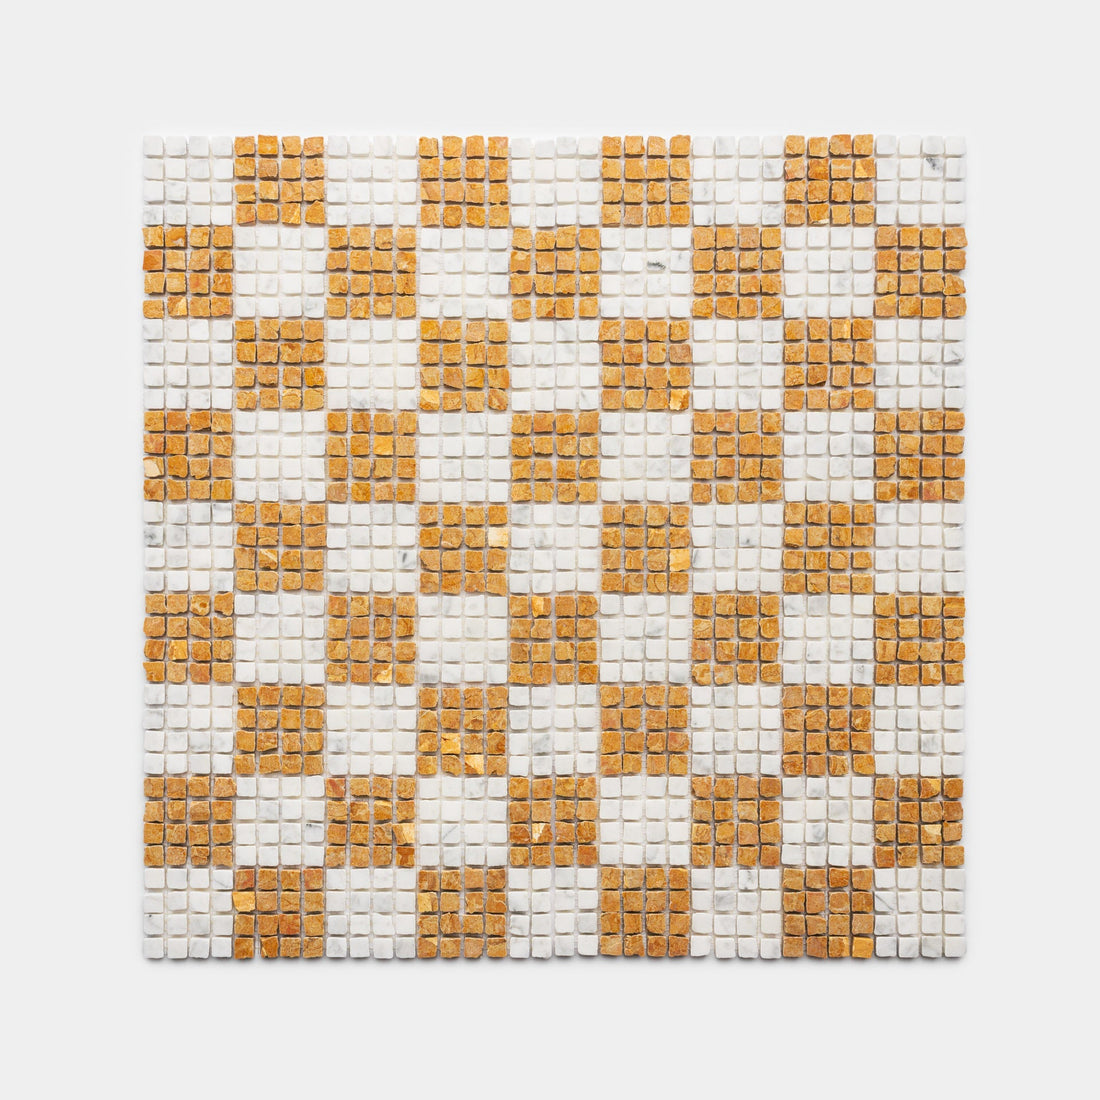
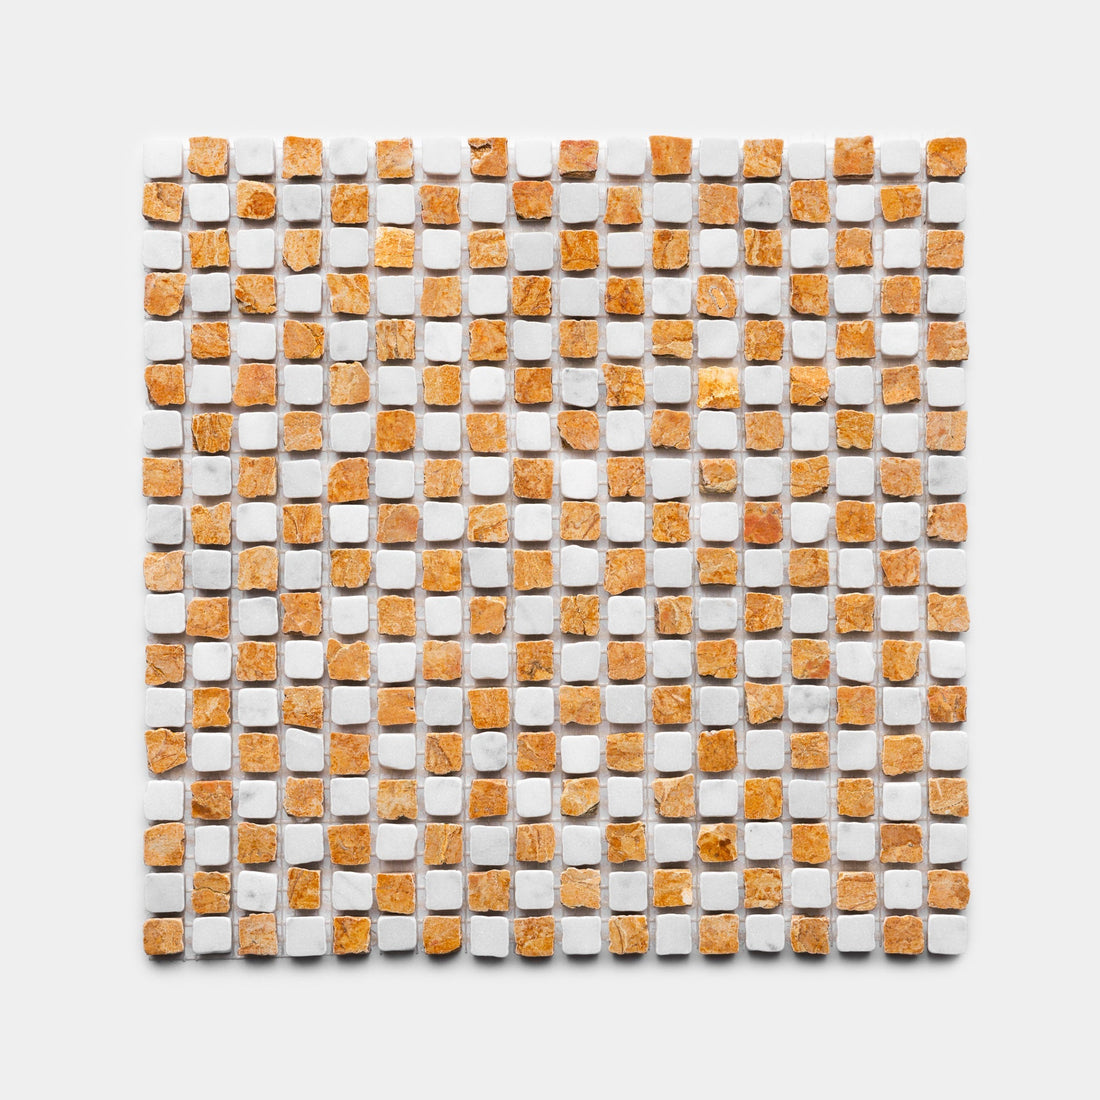
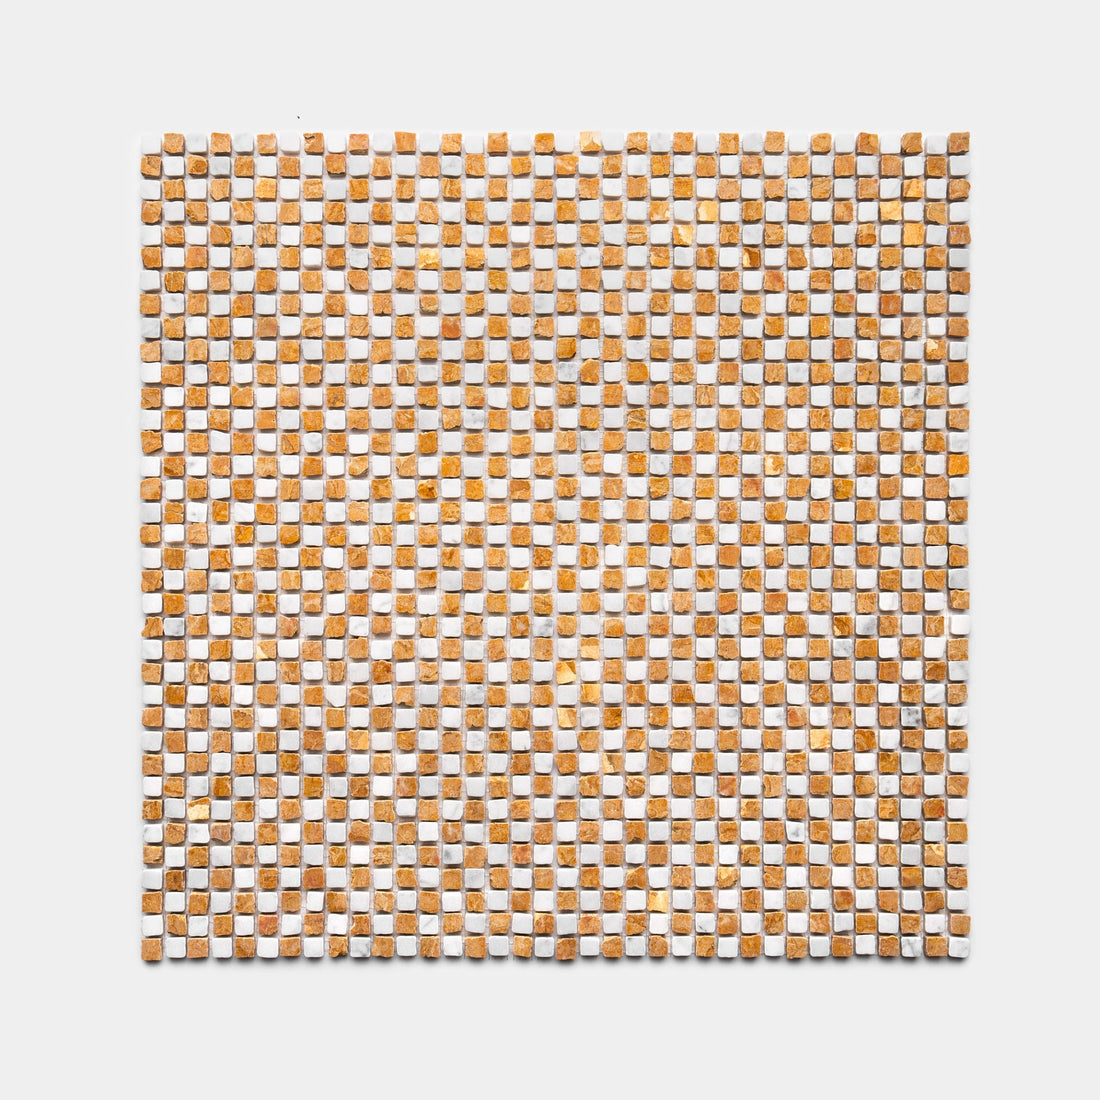
Giallo Reale 5/8
In Stock
Roman Mosaic$57.85 / ft²
-

$57.85 / ft²
-
$57.85 / ft²
-
$57.85 / ft²
-
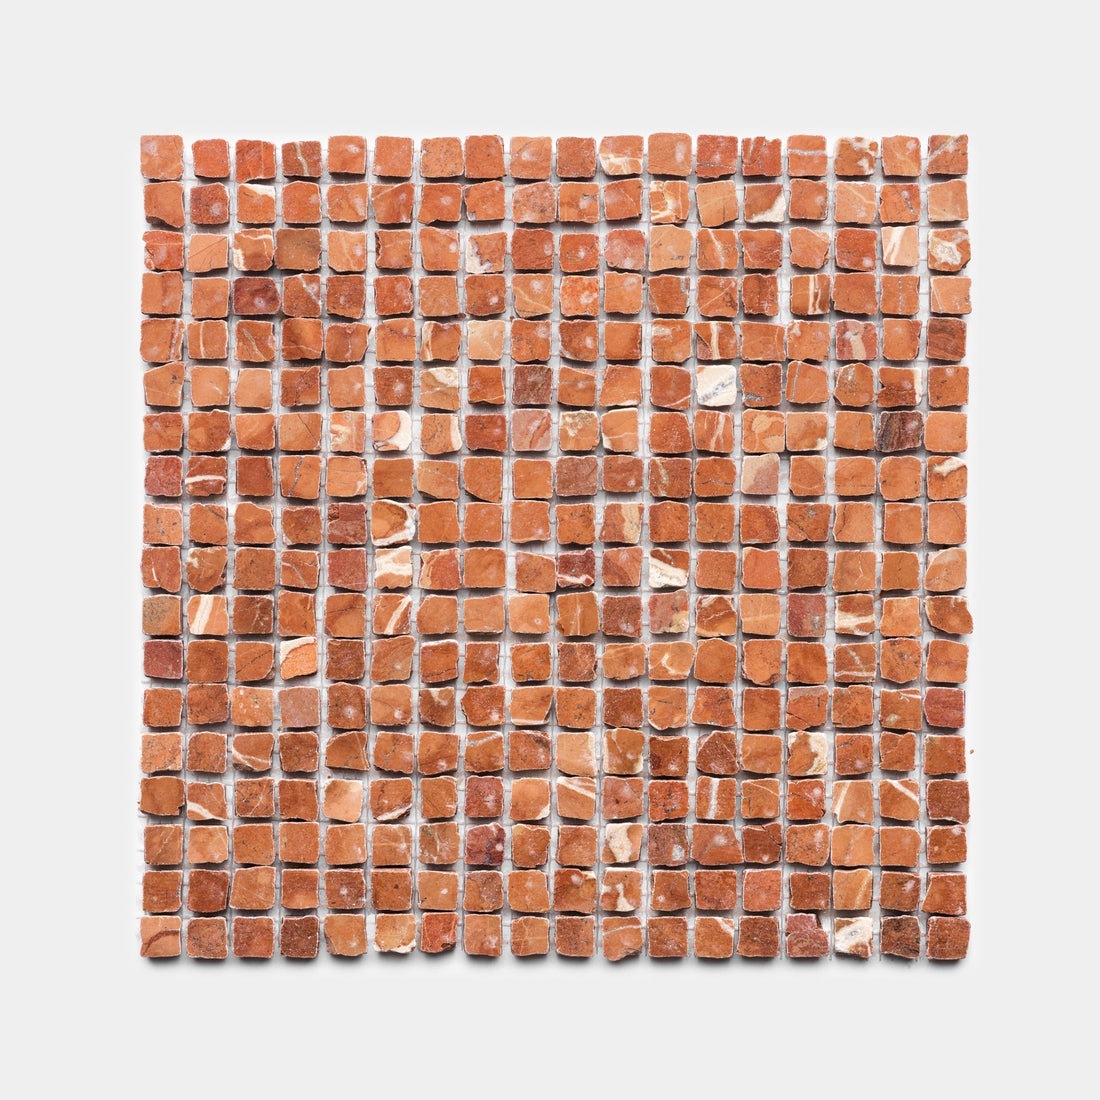
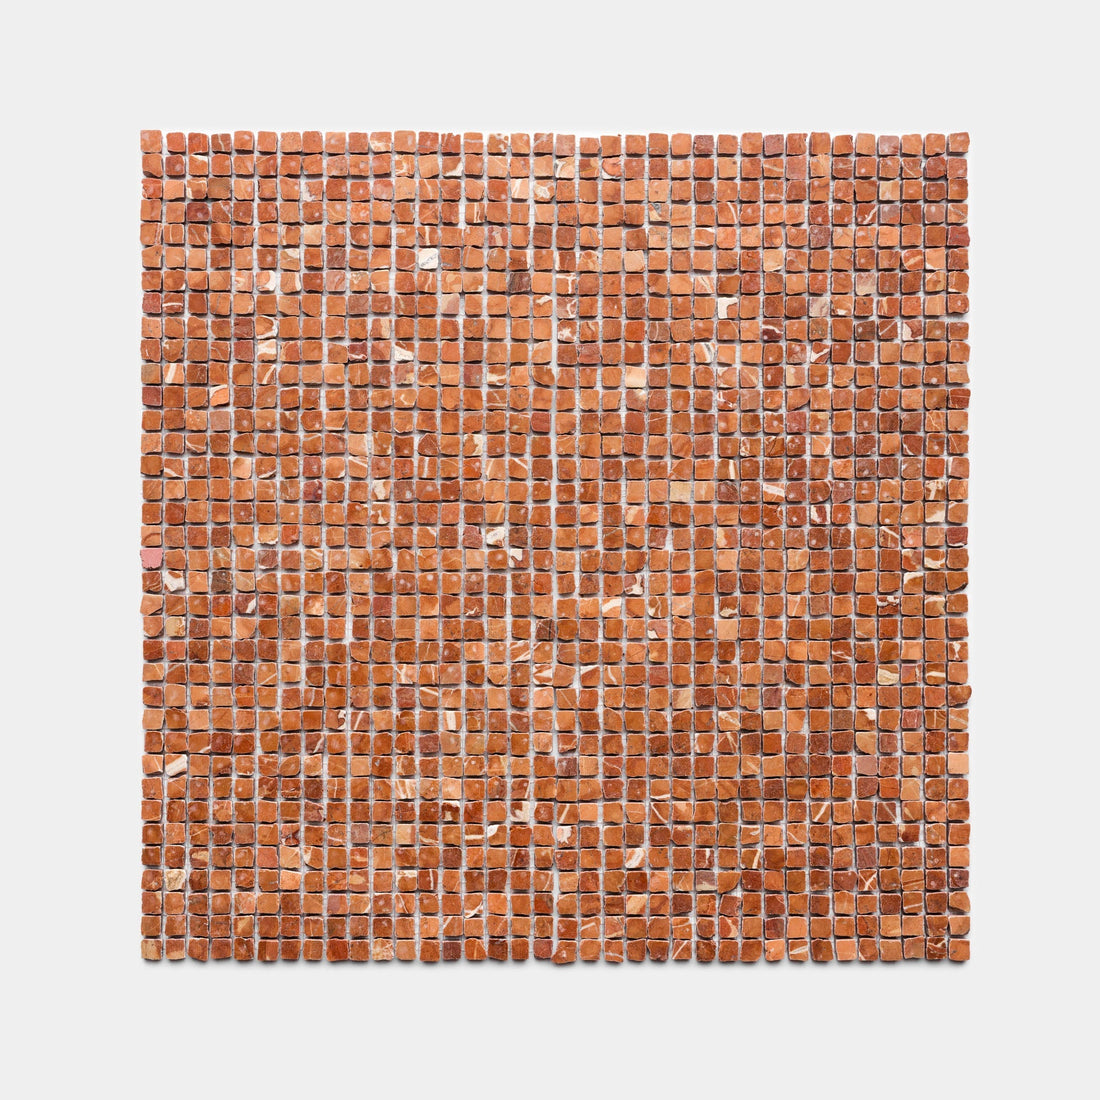
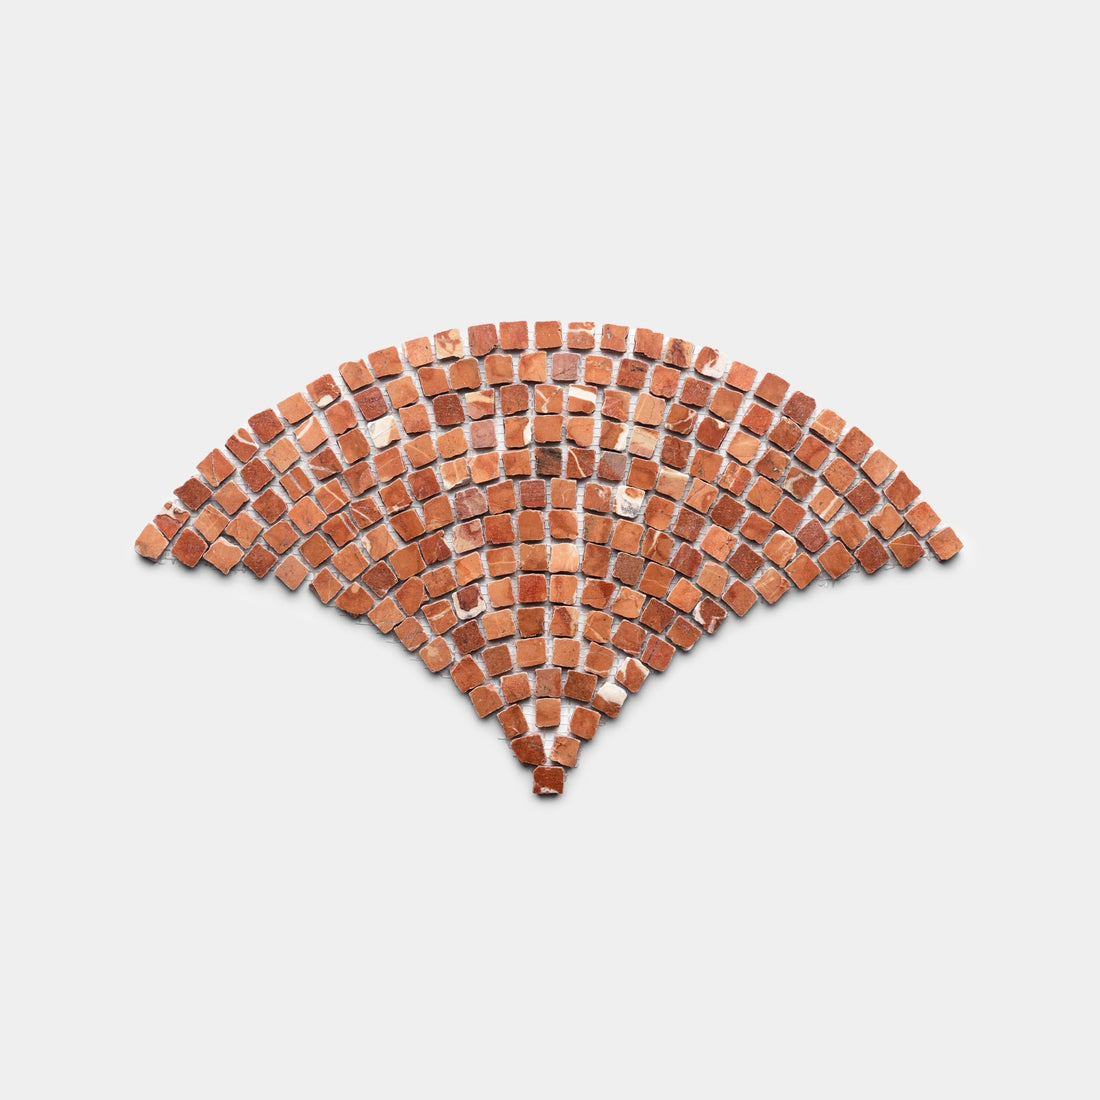
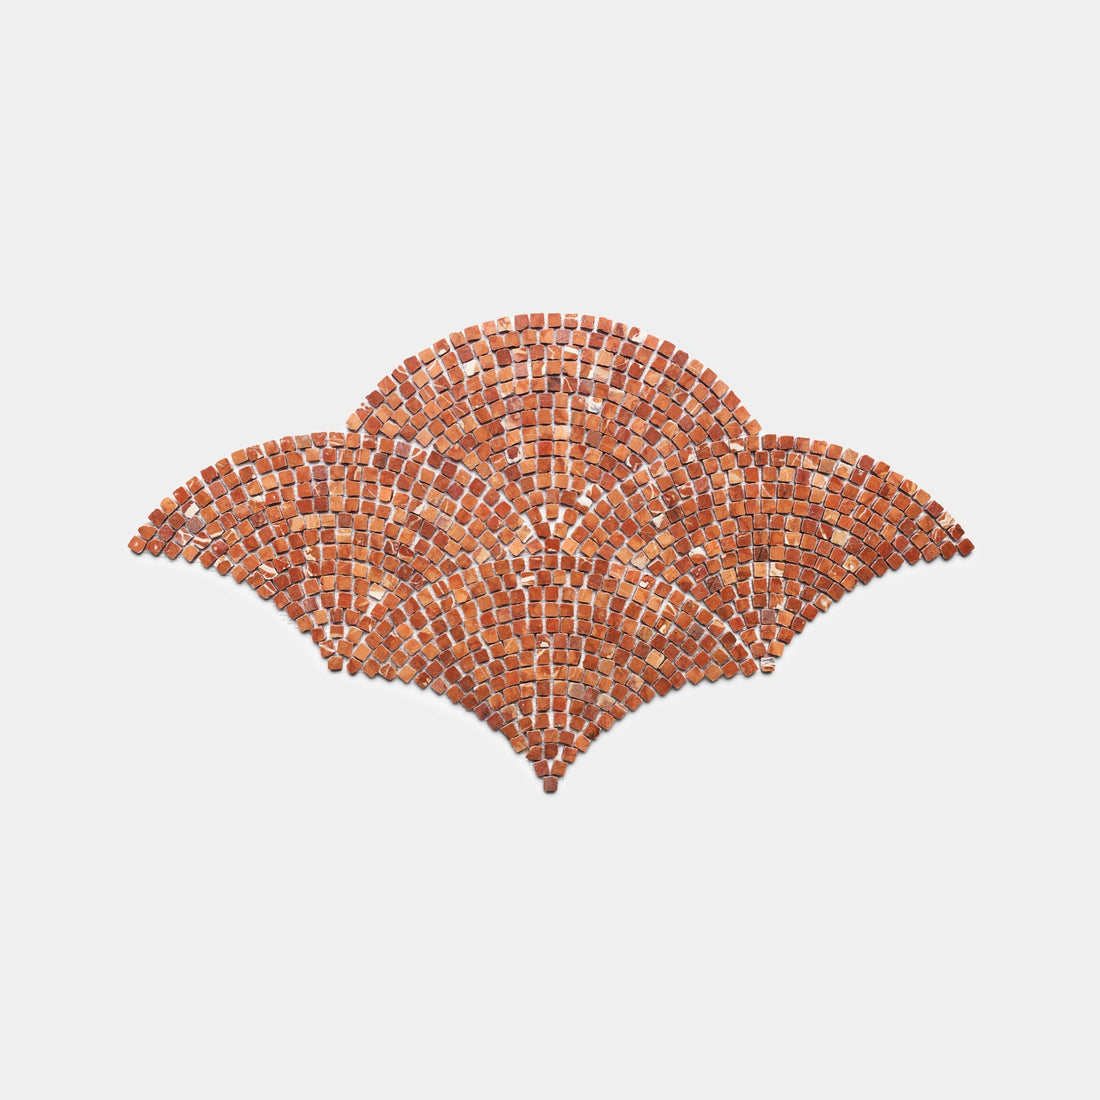
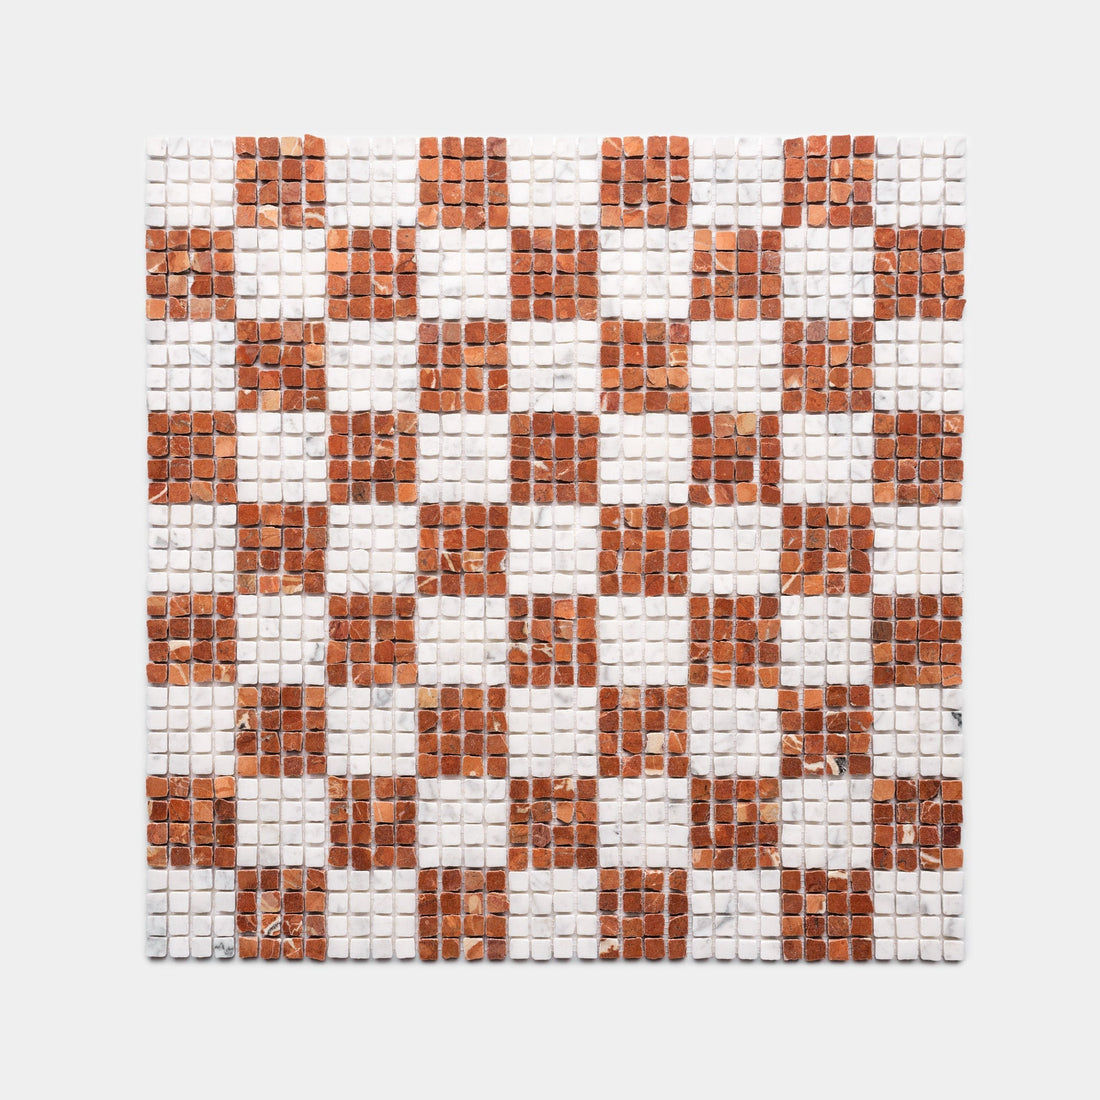
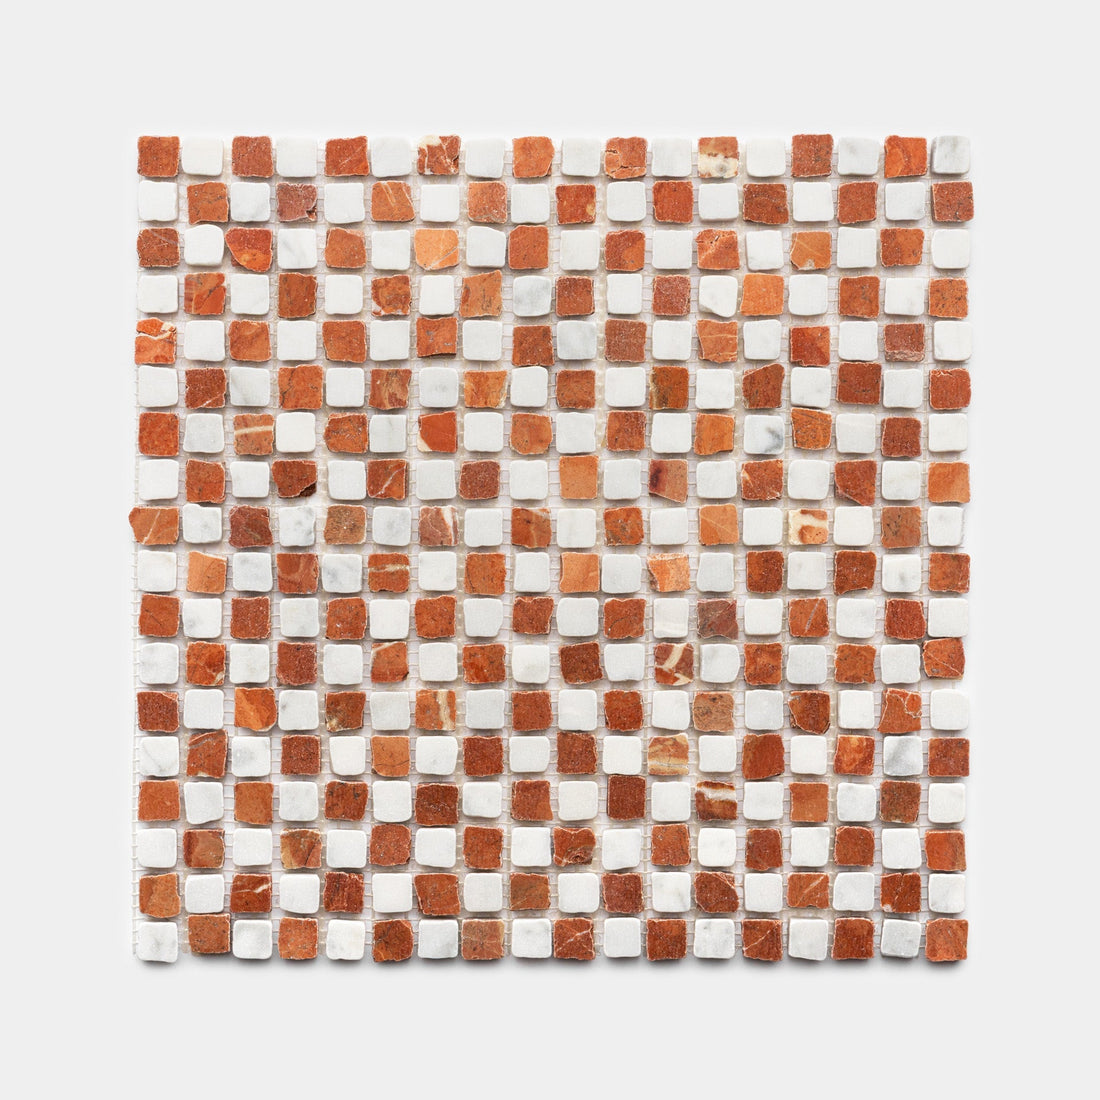
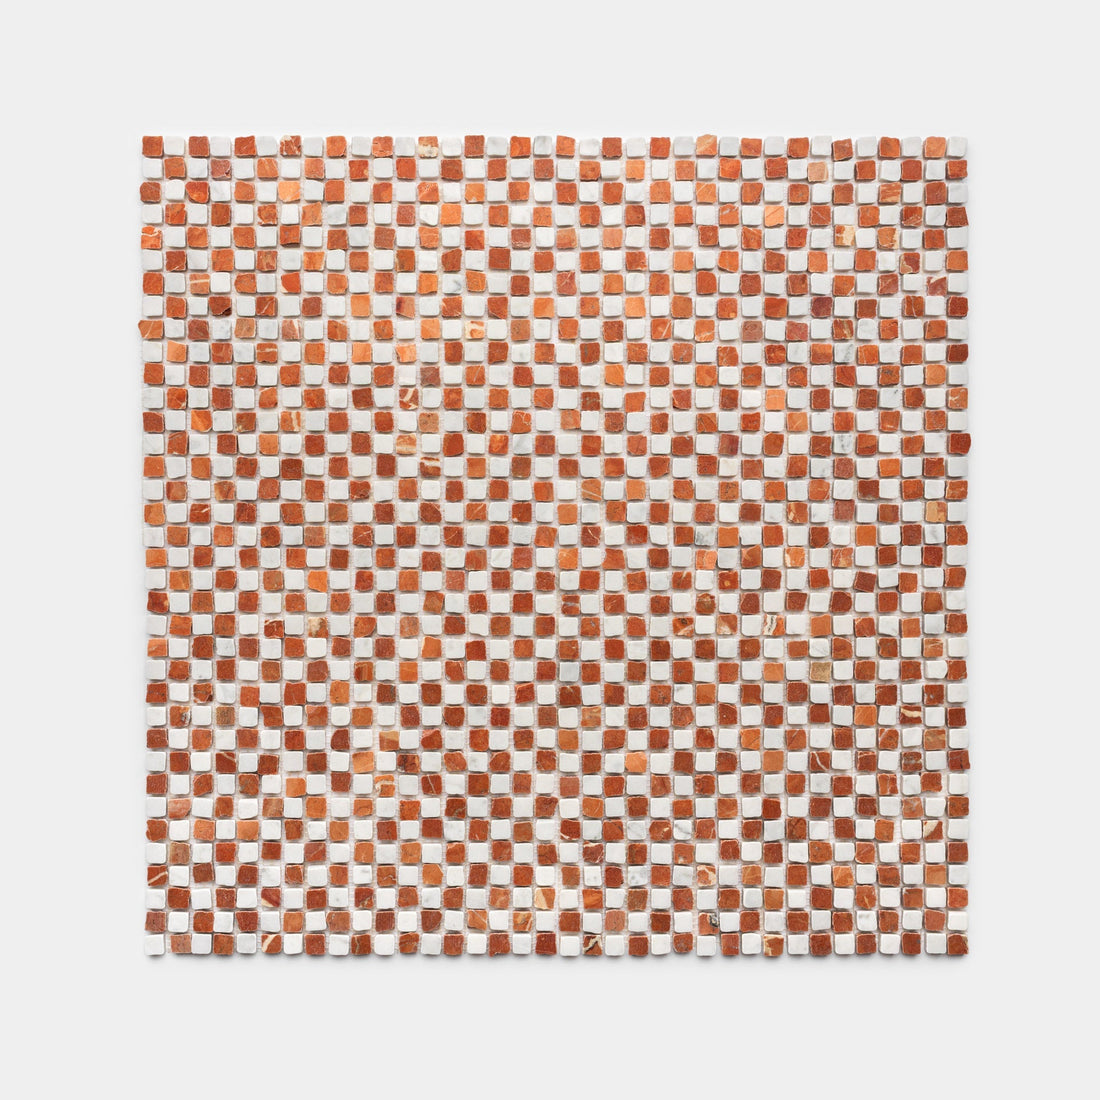
Rosso Alicante 5/8
In Stock
Roman Mosaic$57.85 / ft²
-
$57.85 / ft²
-
$57.85 / ft²
-
$57.85 / ft²
-
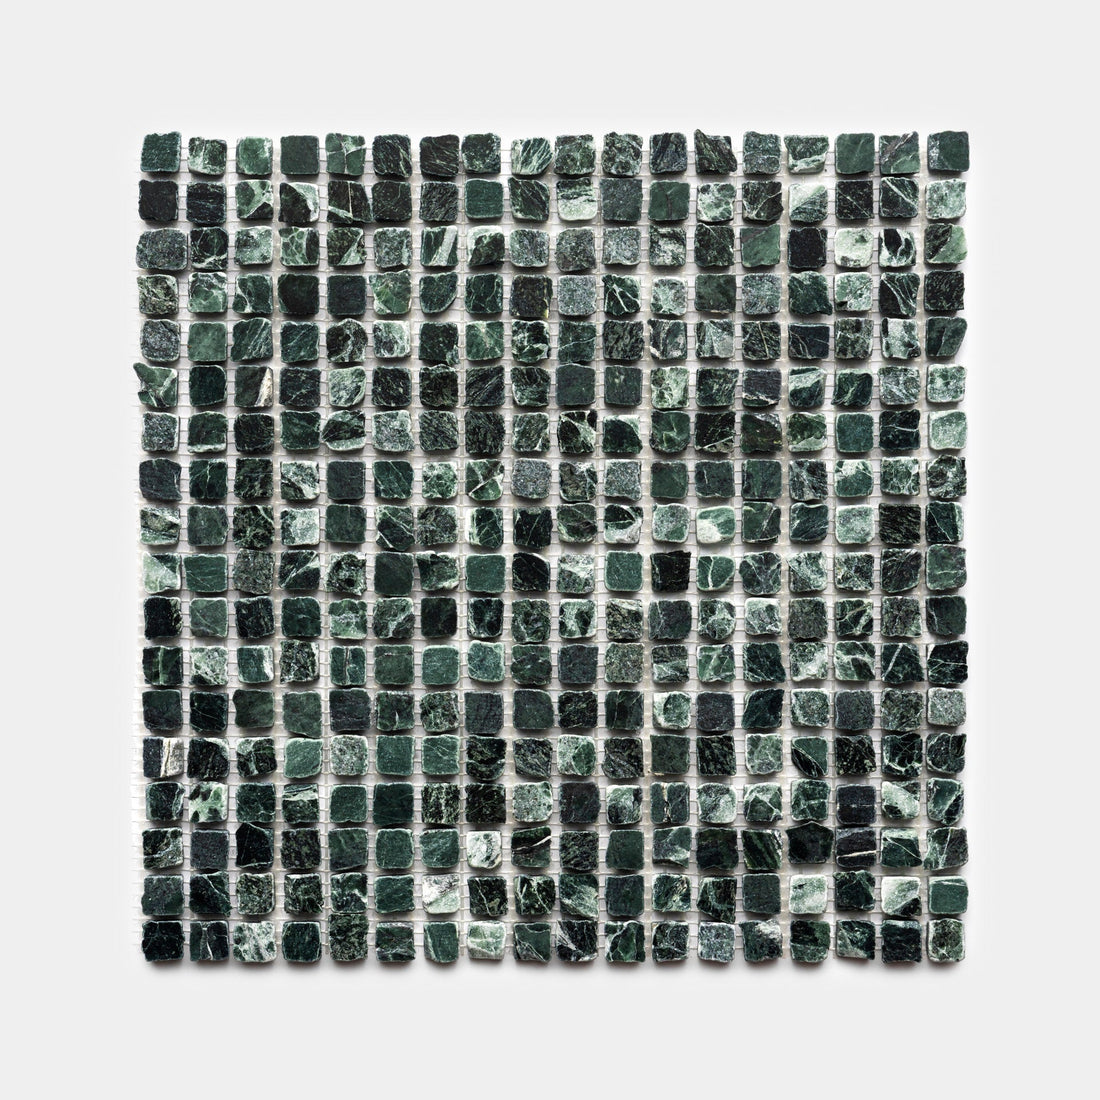

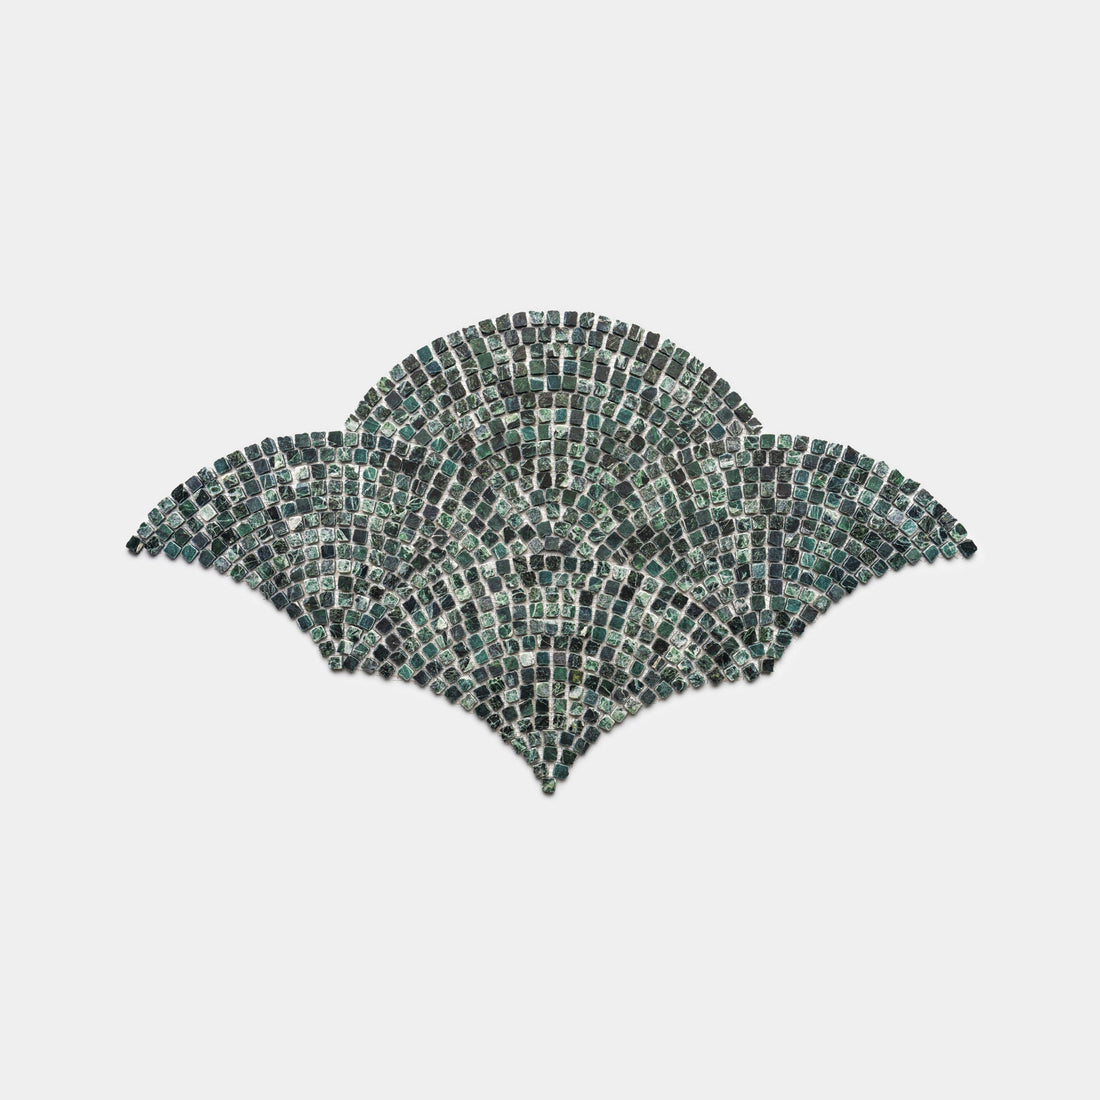
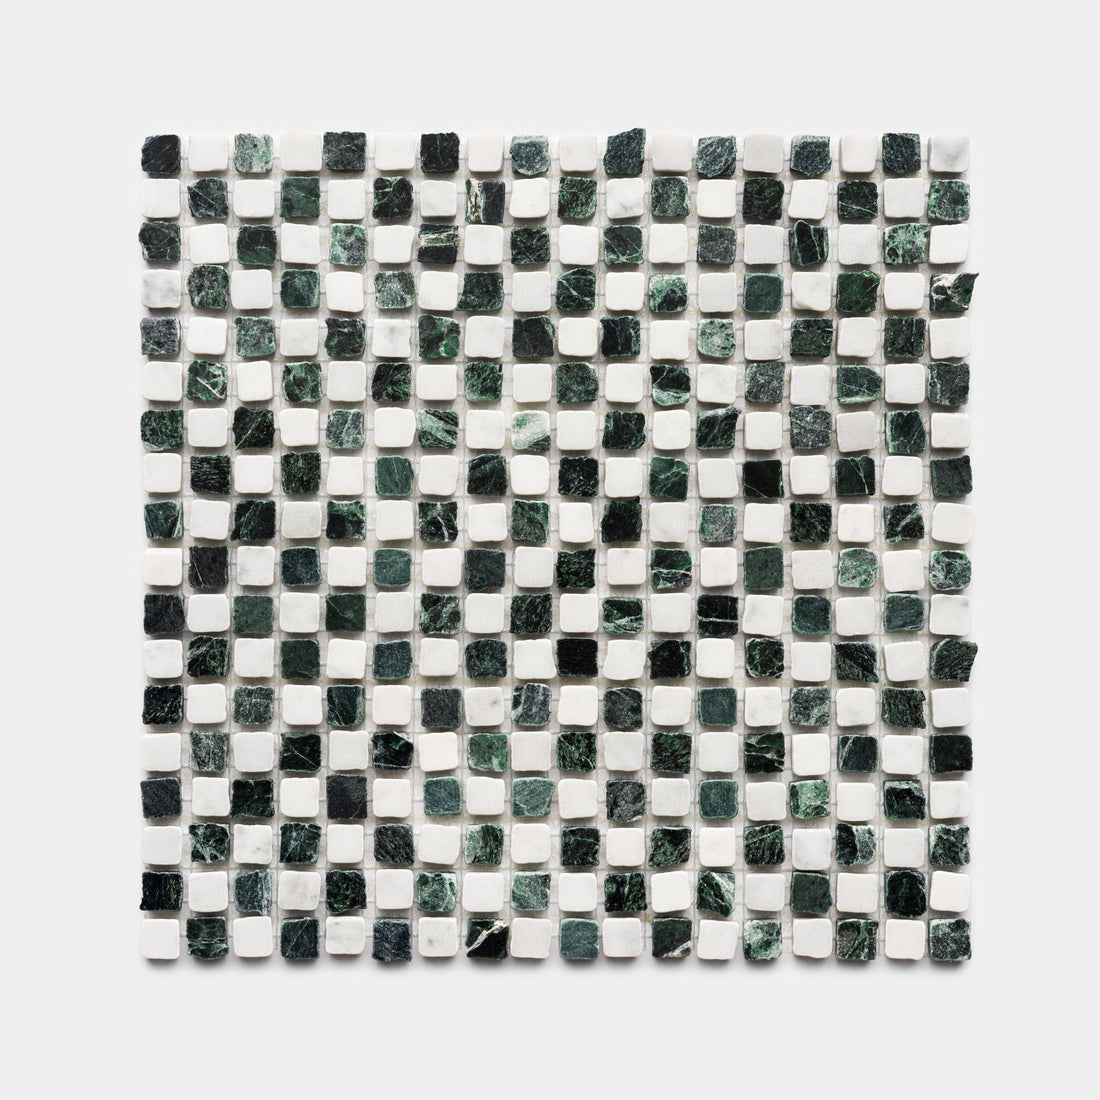
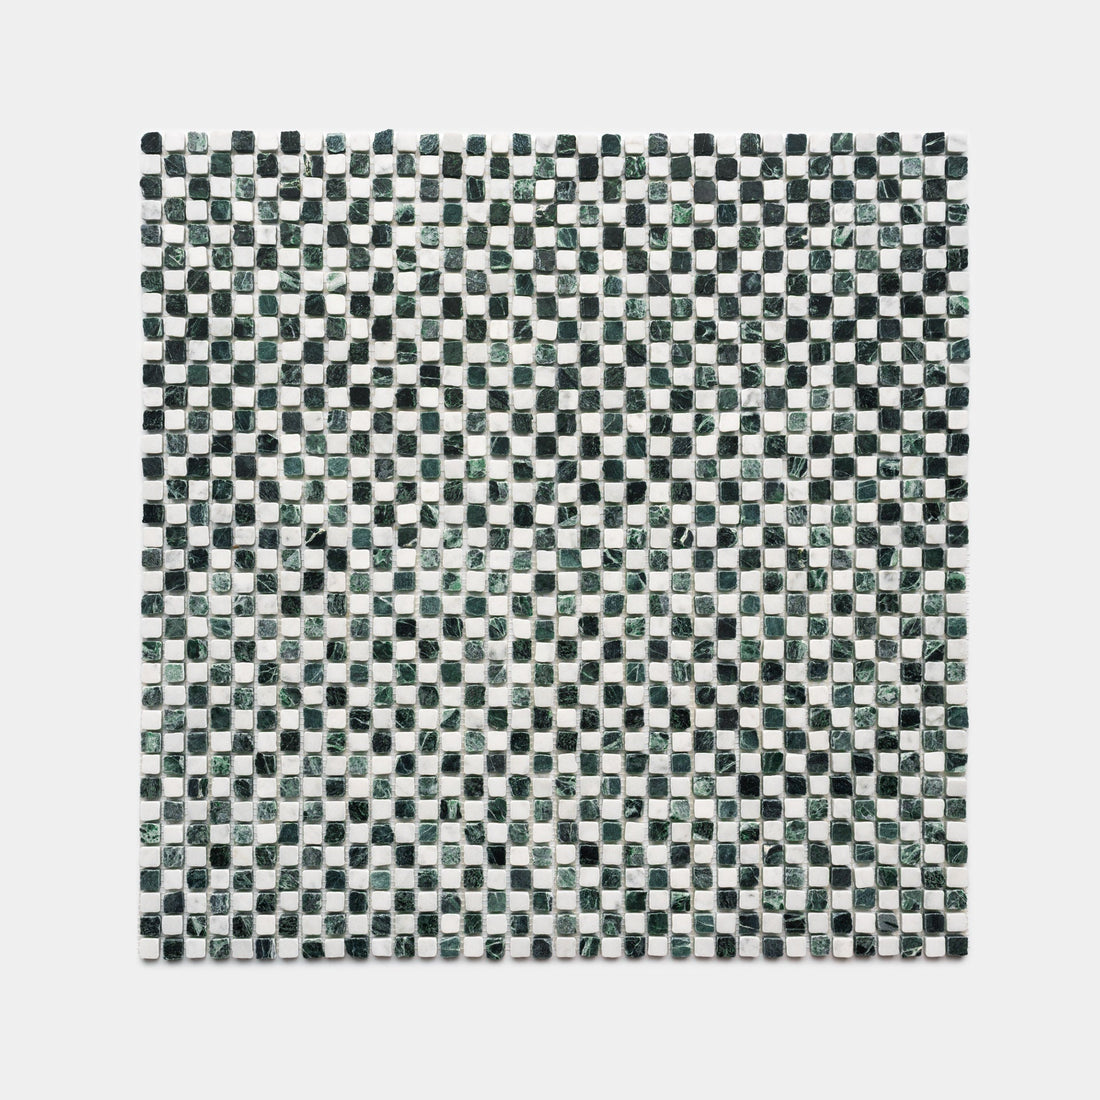
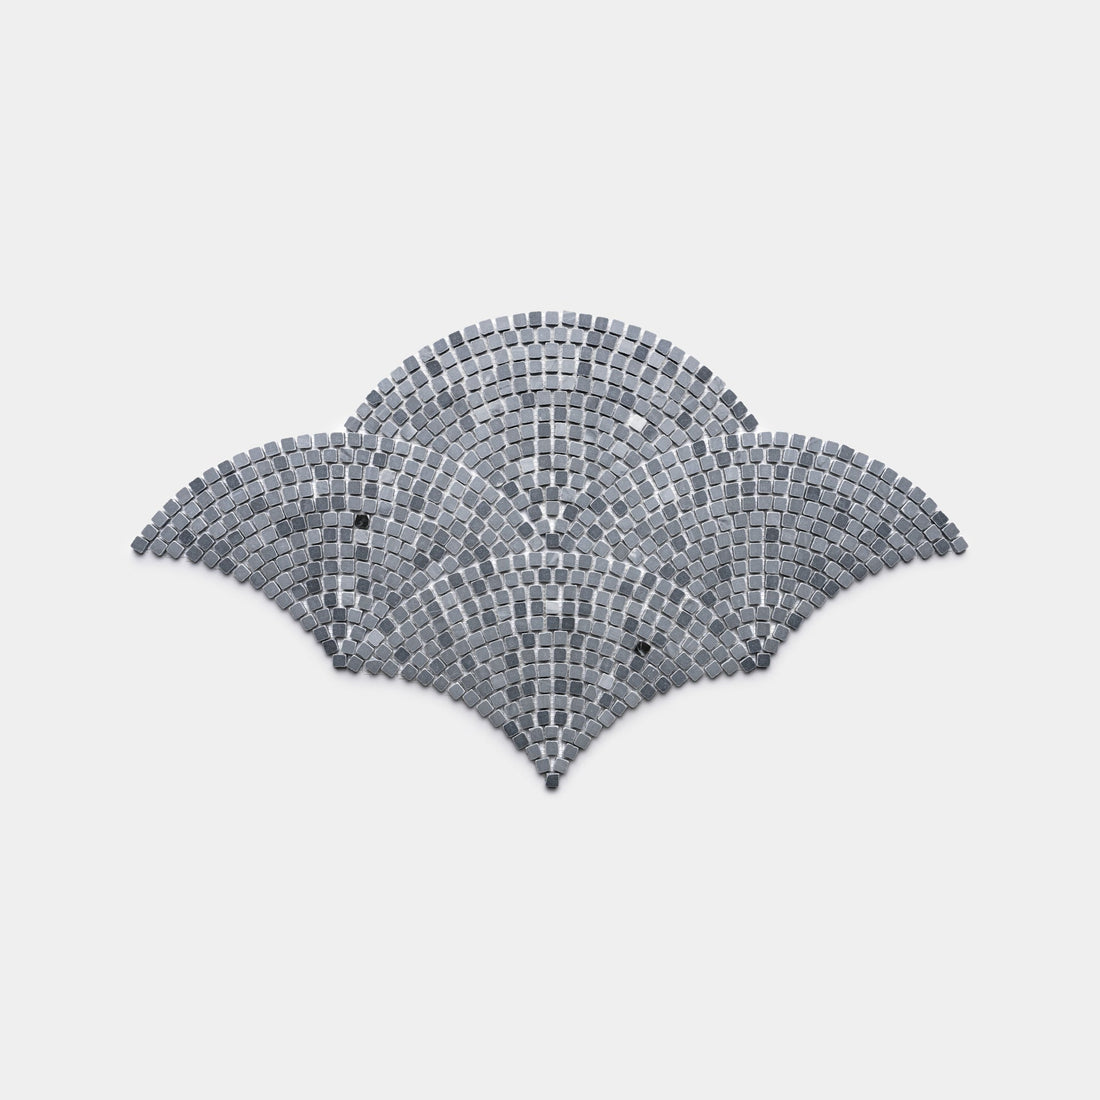
Verde Alpi 5/8
In Stock
Roman Mosaic$65.85 / ft²
-
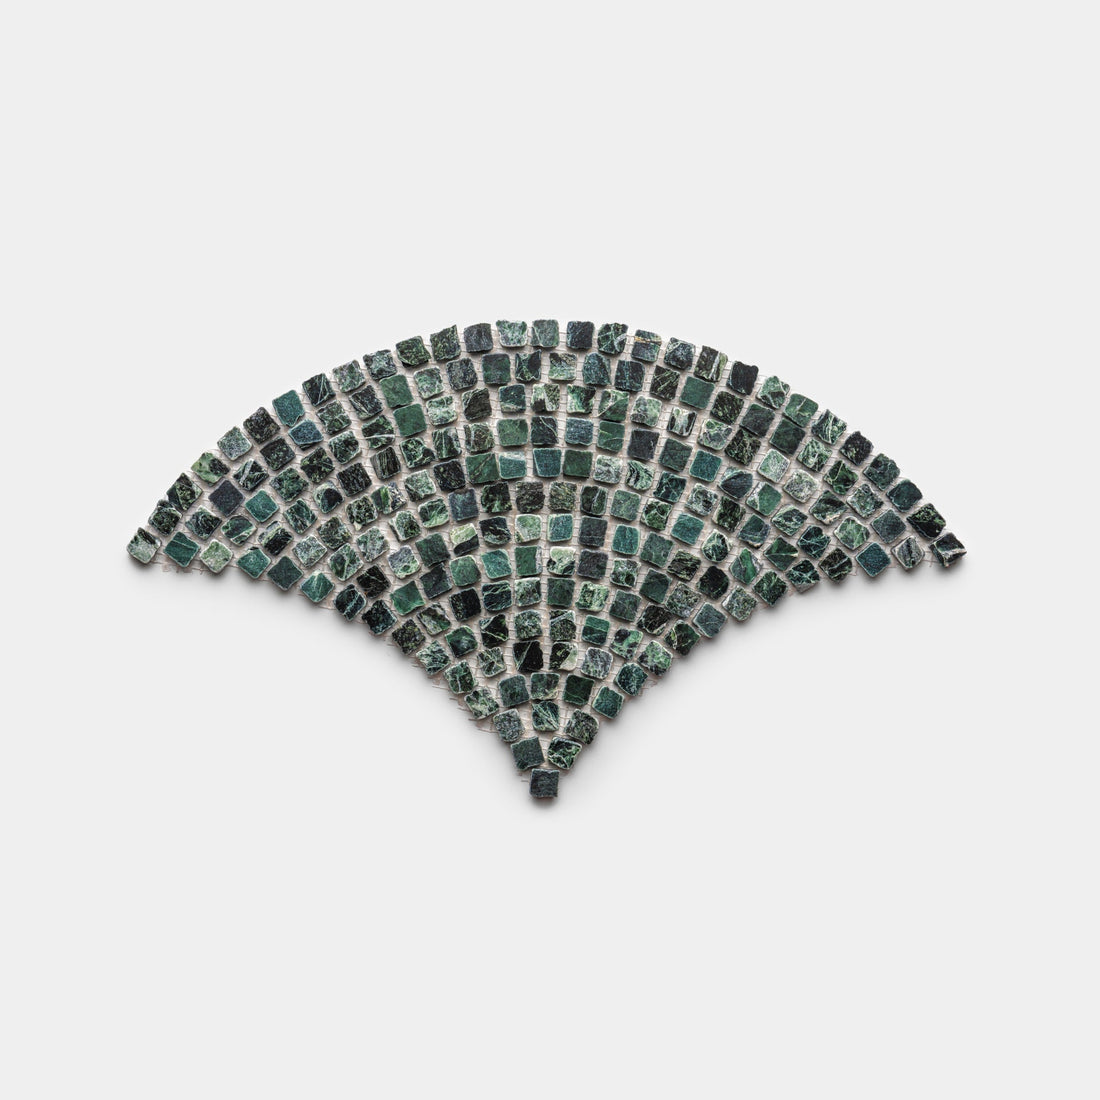
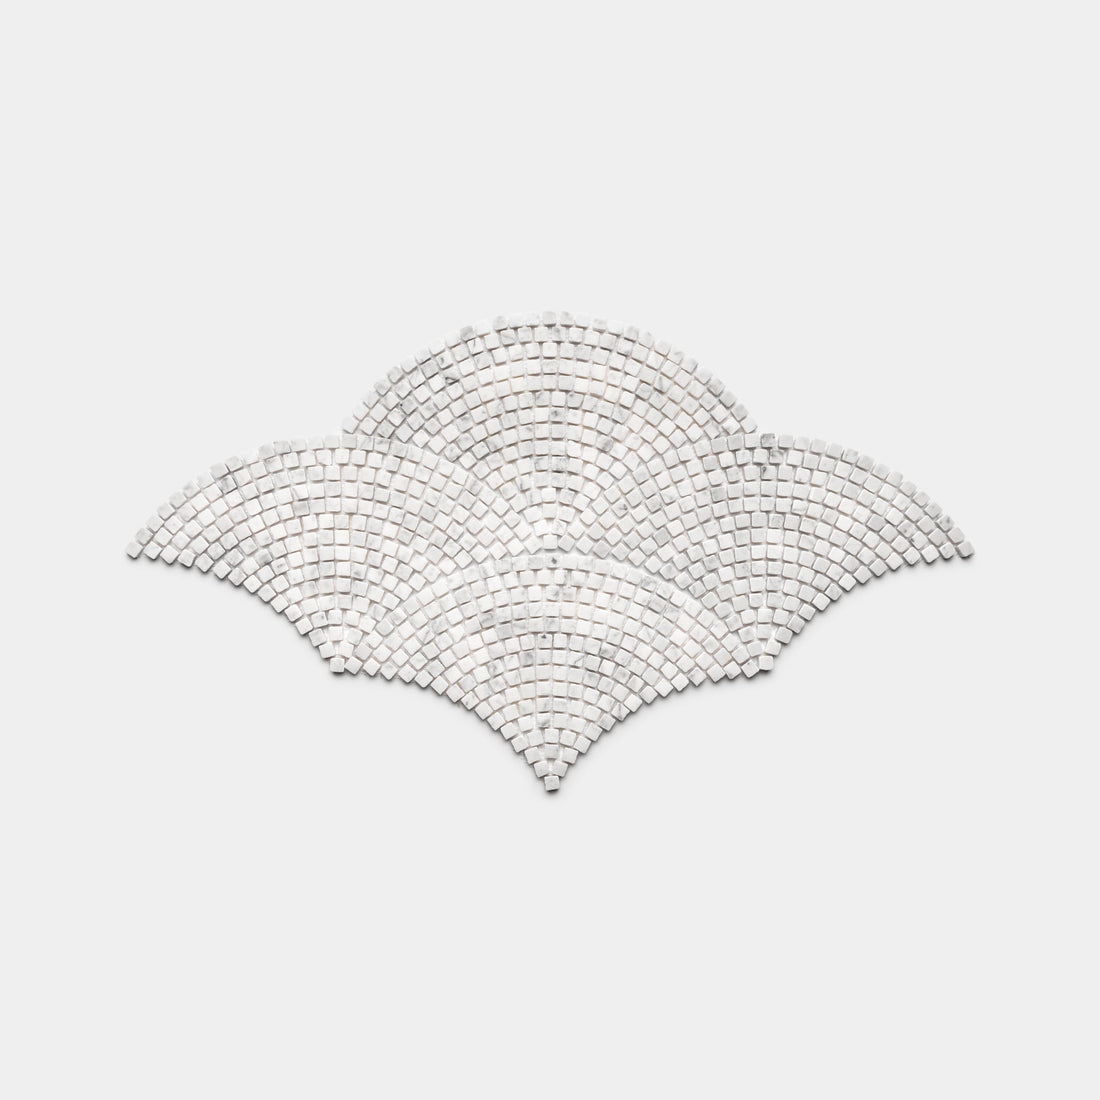
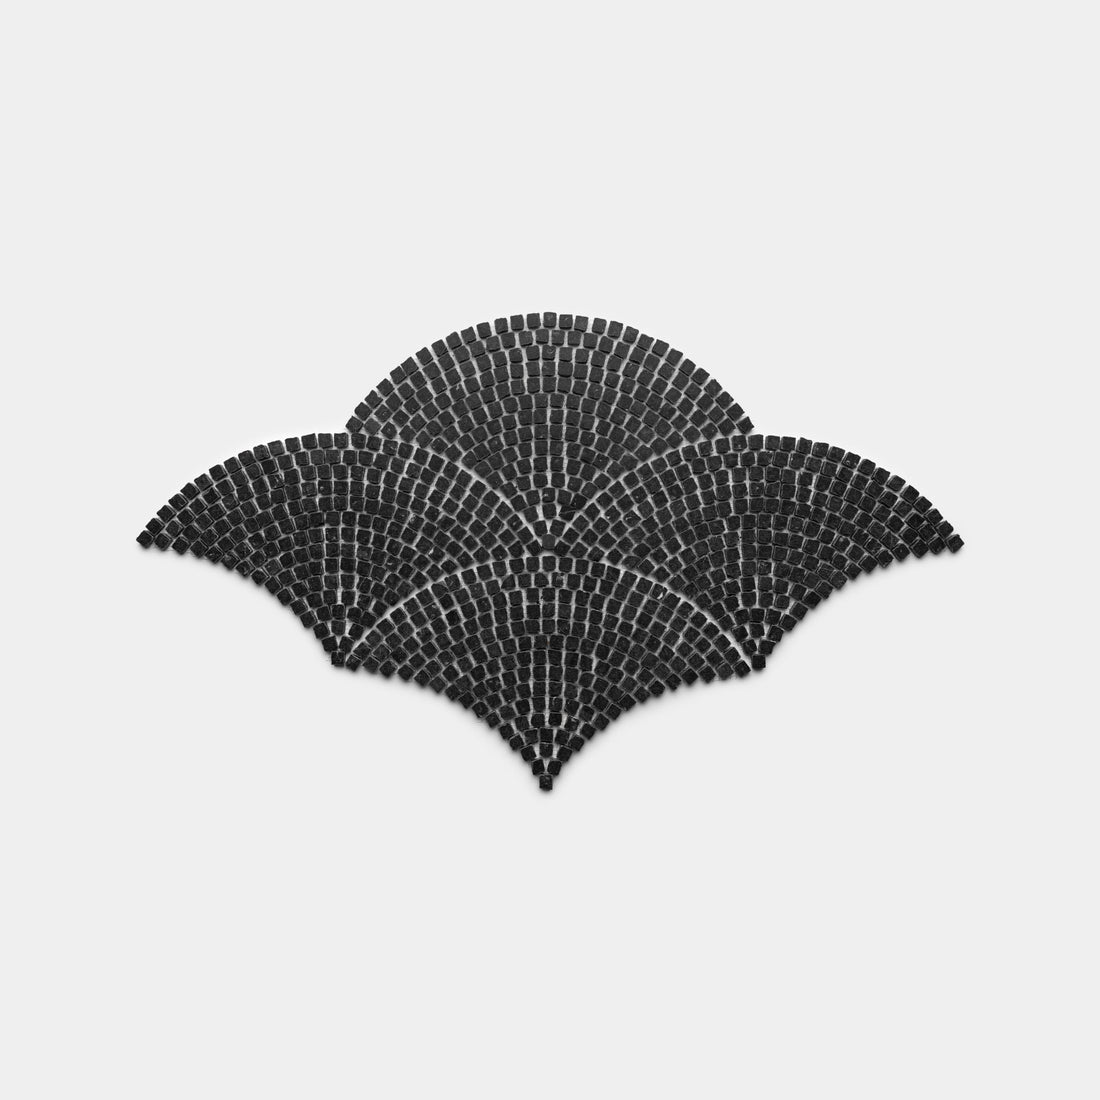
Ventaglio in Verde Alpi
In Stock
Roman Mosaic$57.85 / ft²
-
$65.85 / ft²
-
$65.85 / ft²
-
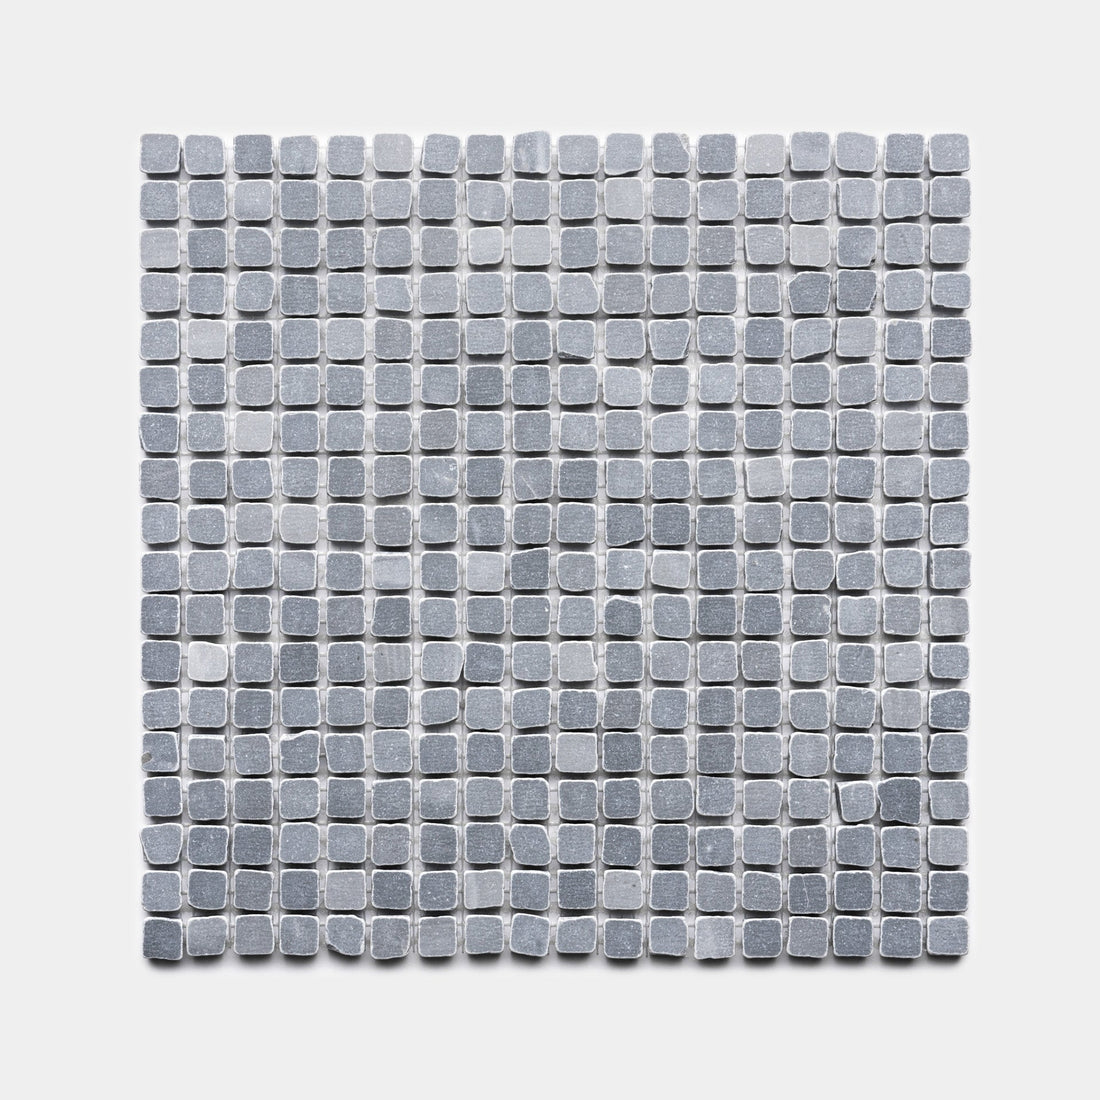
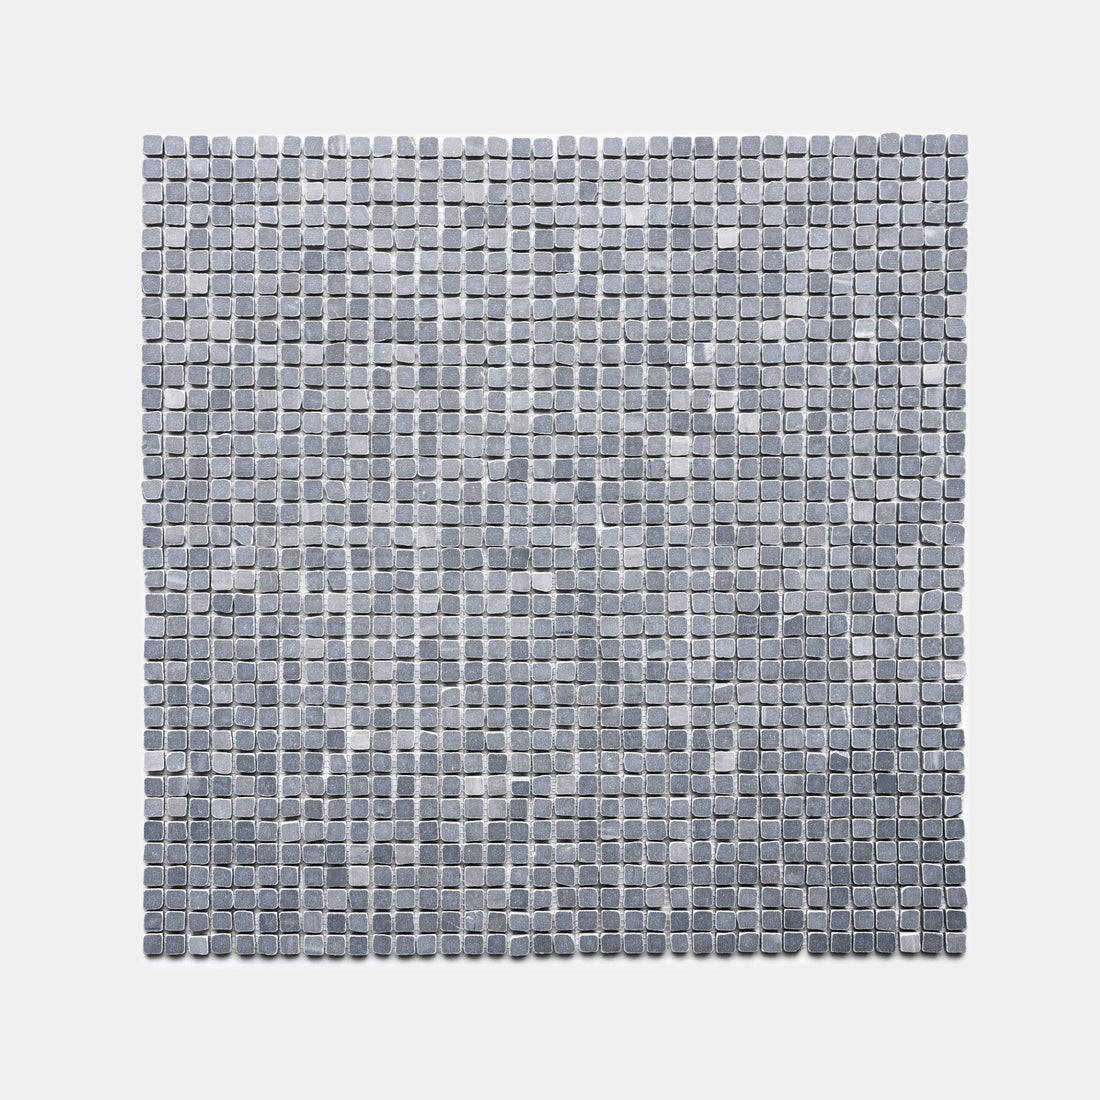
Bardiglio Imperiale 5/8
In Stock
Roman Mosaic$57.85 / ft²
-
$57.85 / ft²
-


$57.85 / ft²
-

$57.85 / ft²
-
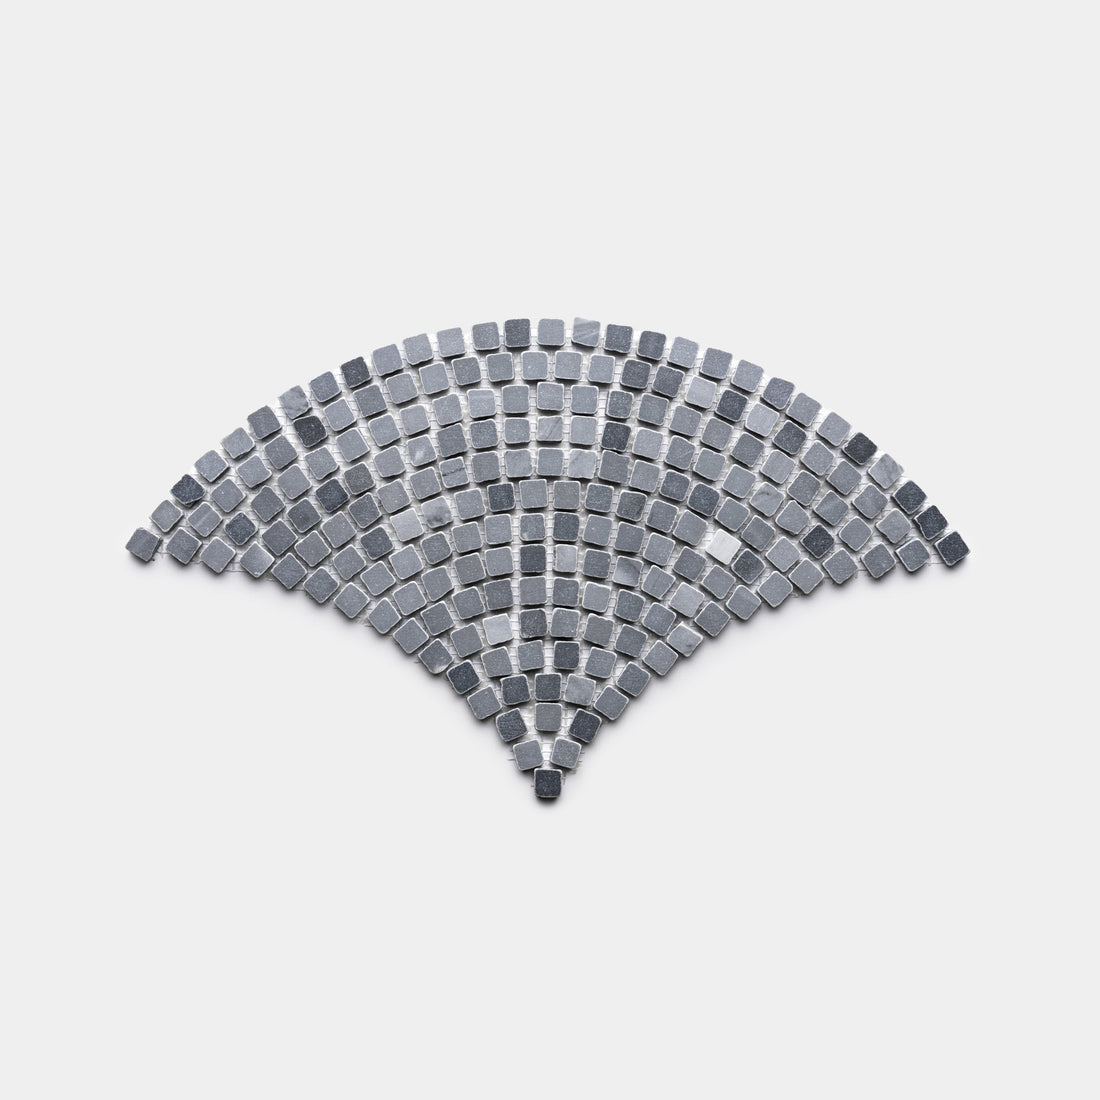
Grigio Carnico 5/8
In Stock
Roman Mosaic$57.85 / ft²
-
$57.85 / ft²
-
$57.85 / ft²
-
$57.85 / ft²
-
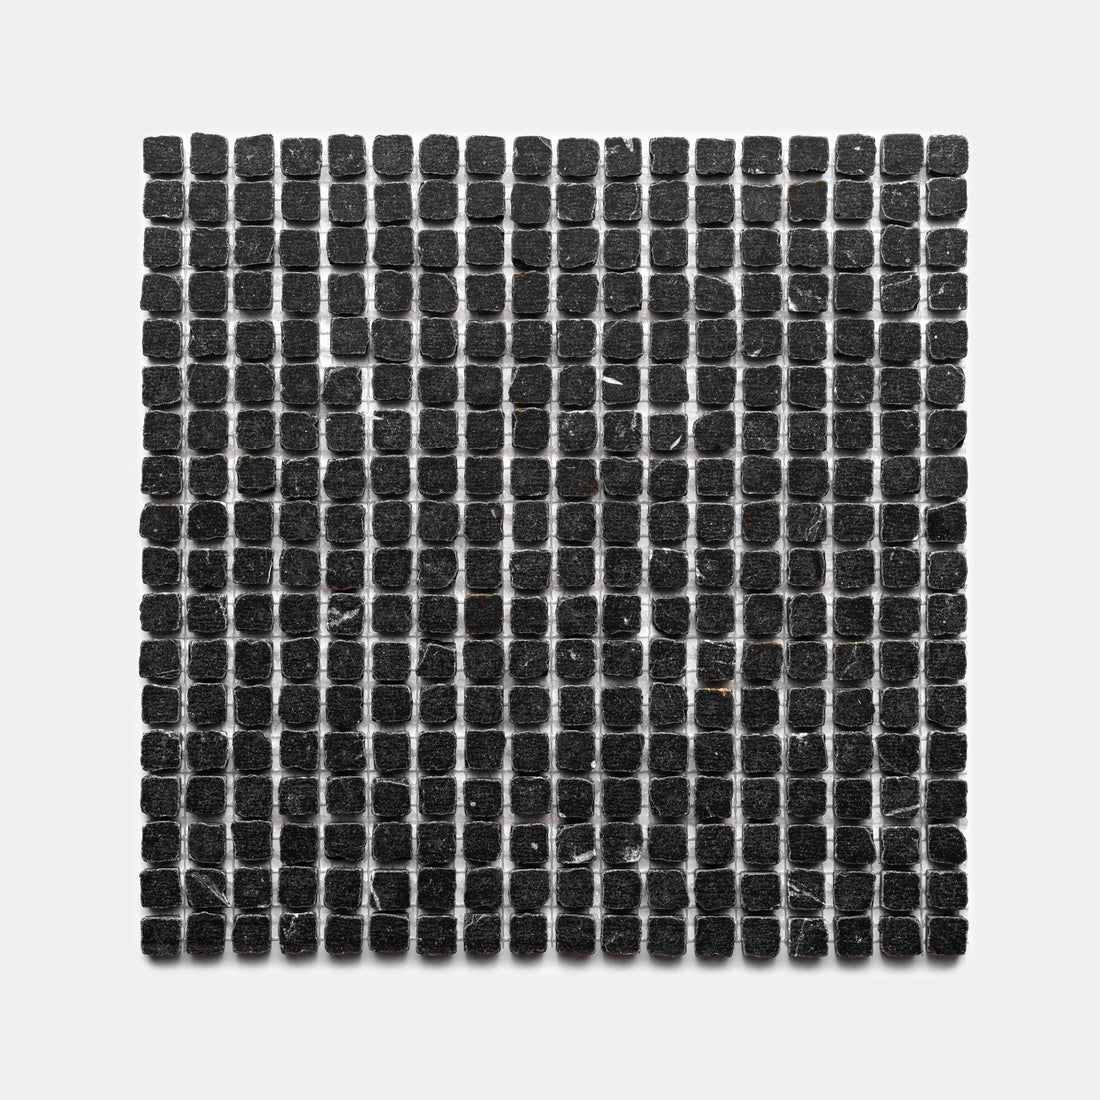
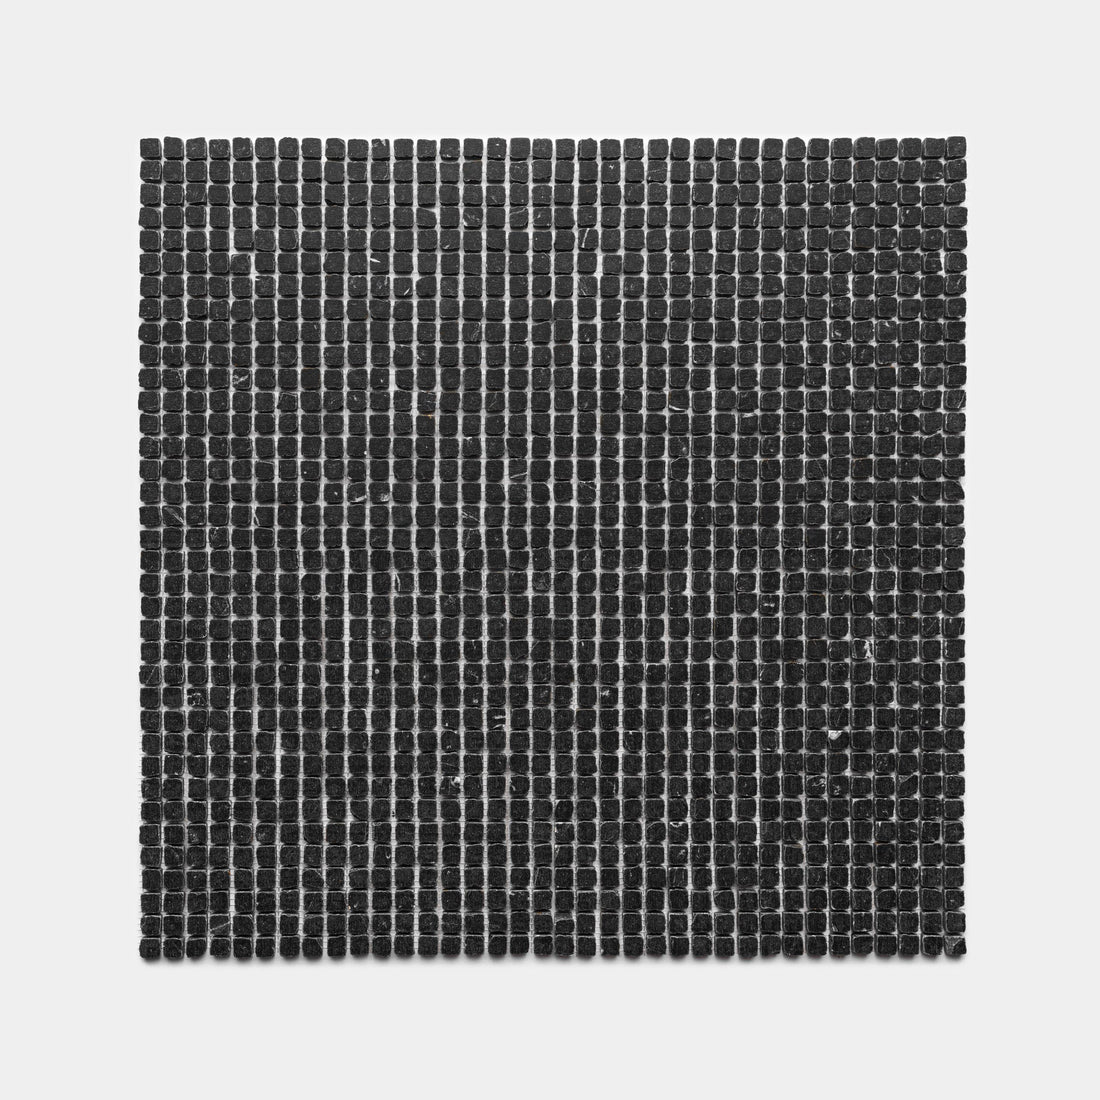
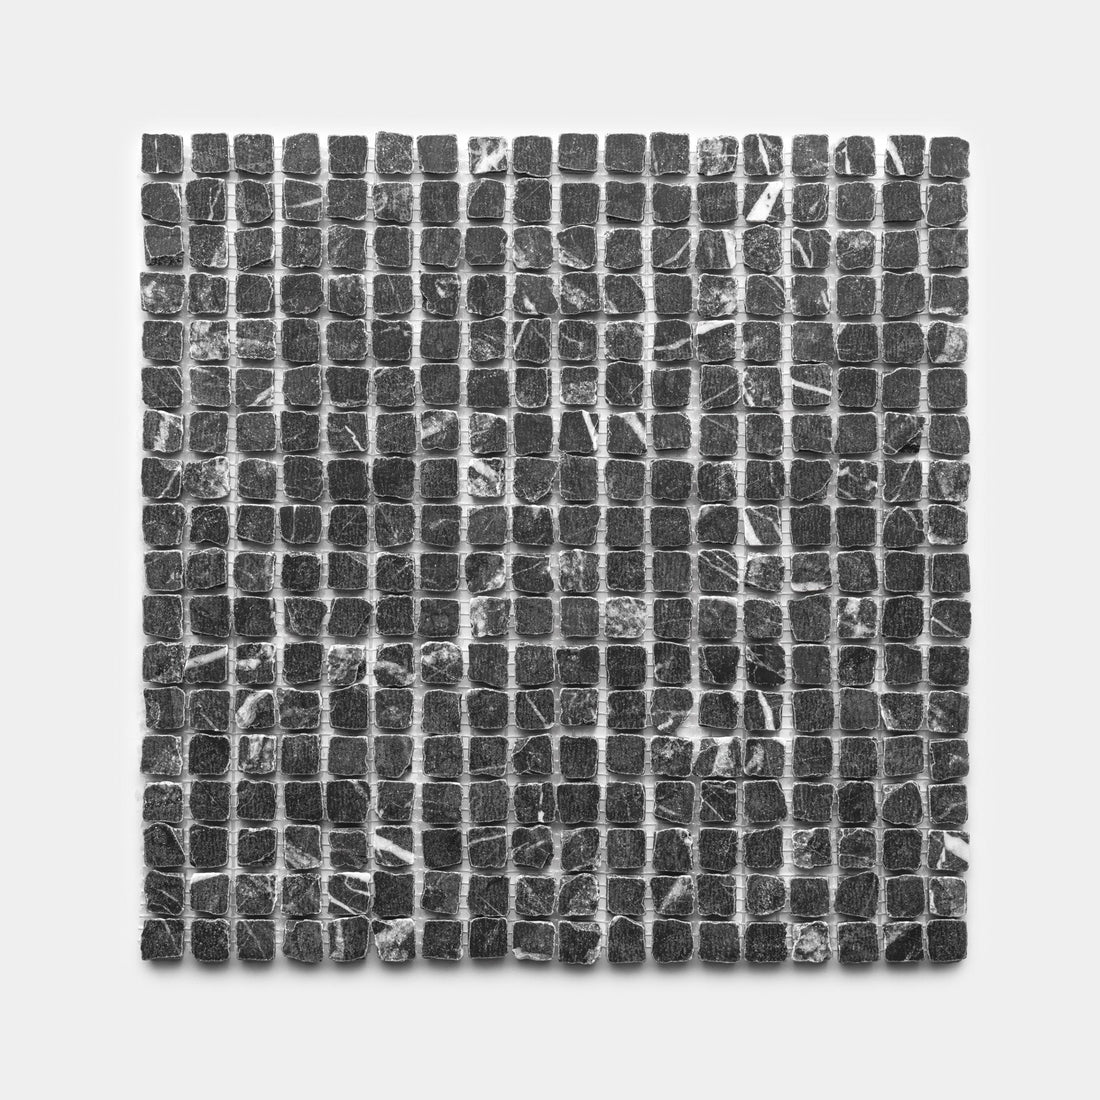
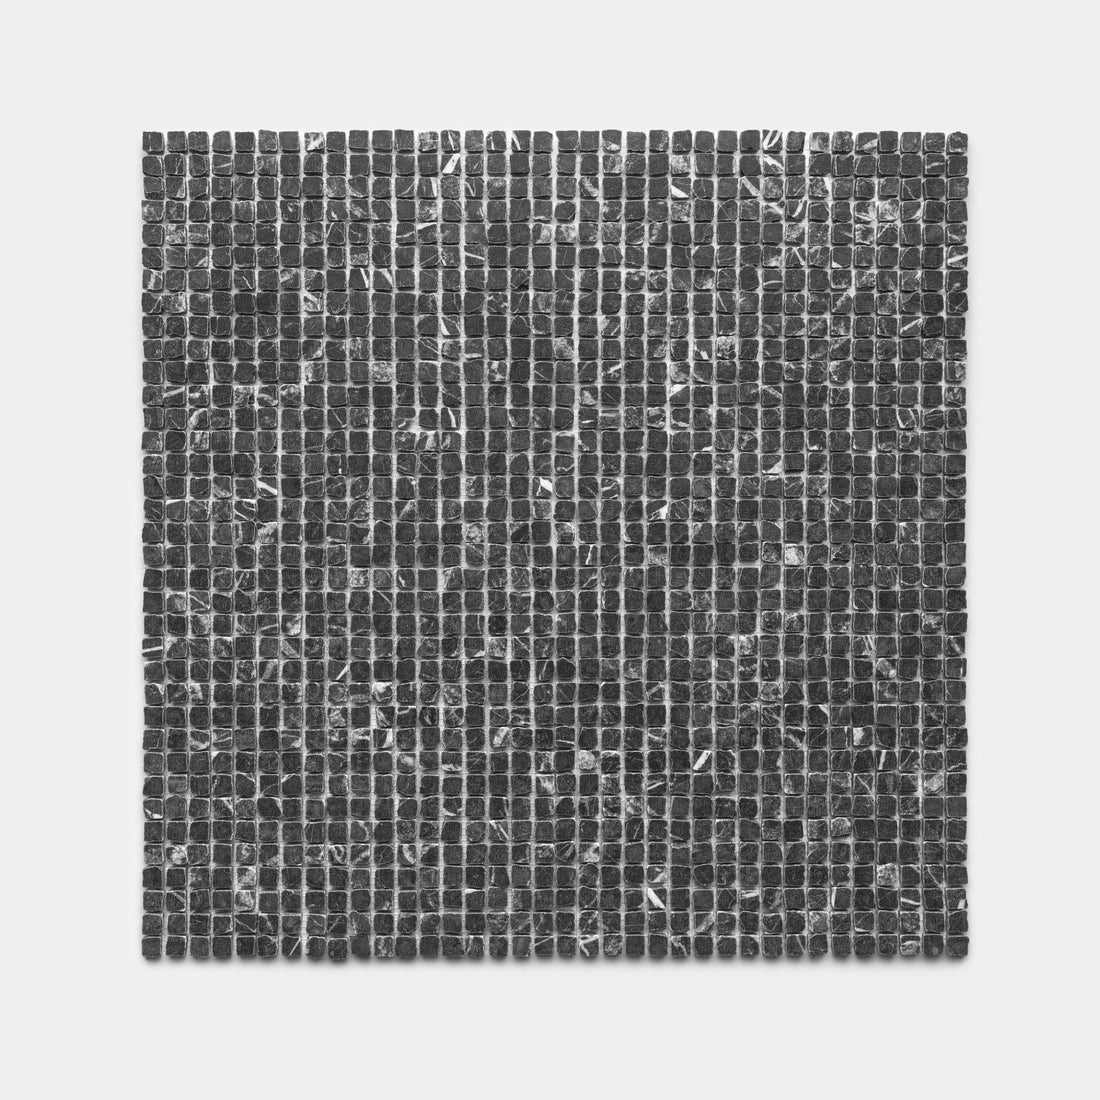
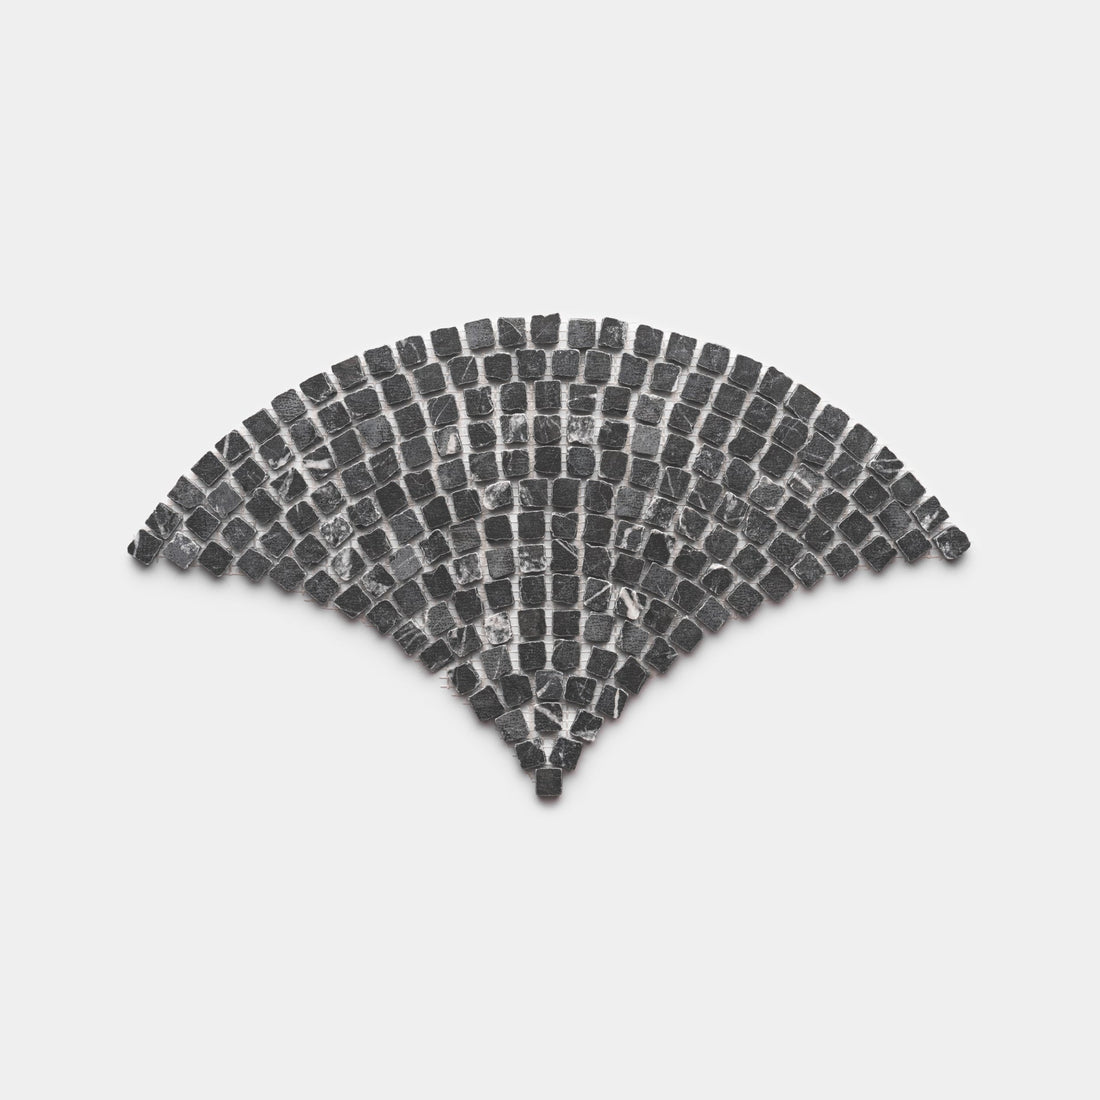
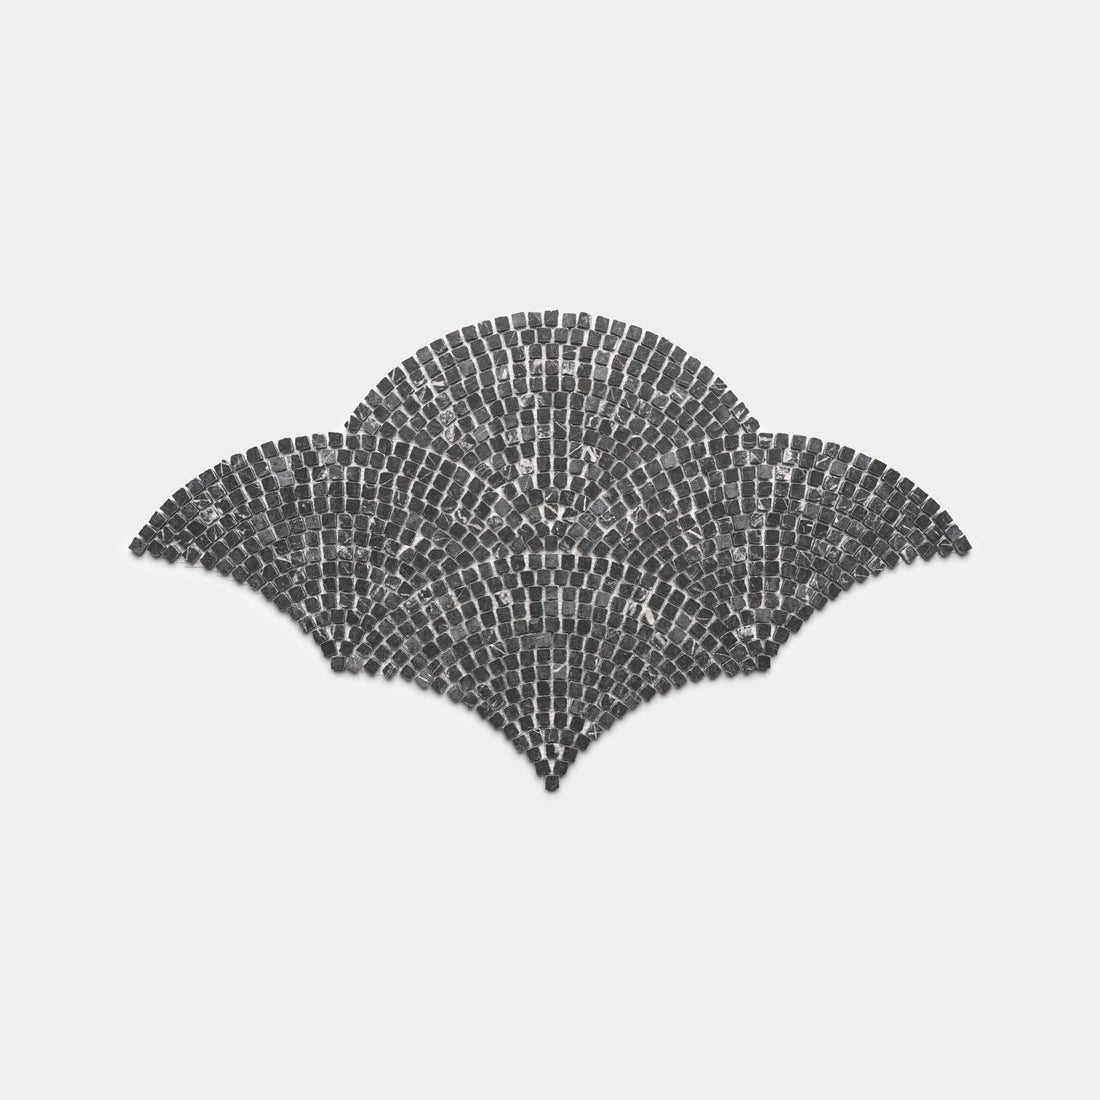
Nero Marquina 5/8
In Stock
Roman Mosaic$57.85 / ft²
-

$65.85 / ft²
-
$57.85 / ft²
-
$57.85 / ft²


Frequently Asked Questions
Browse Other Collections

Cantera
